

NOTES
- This is specifically for the [Adafruit Feather RP2040 with USB Type A Host]! Please consult your sales receipt to confirm that it is indeed an [Adafruit Feather RP2040 with USB Type A Host].
- While you can use the Xbox One Riffmaster too but you should just use [RB4InstrumentMapper] for that instead.
Click on the Pads icon at the top of RPCS3.

It’s suggested to create a new configuration by clicking Add Configuration at the top right of the Pads window.
This is so you can change configuration profiles in case you want to play games that don’t use instruments.

Follow the instructions and/or match the assignments below.

Pad Information
| Handlers | Devices |
|---|---|
| XInput | Joystick |
| Device Class | Device Subtype |
|---|---|
| Guitar | Rock Band |
Setup
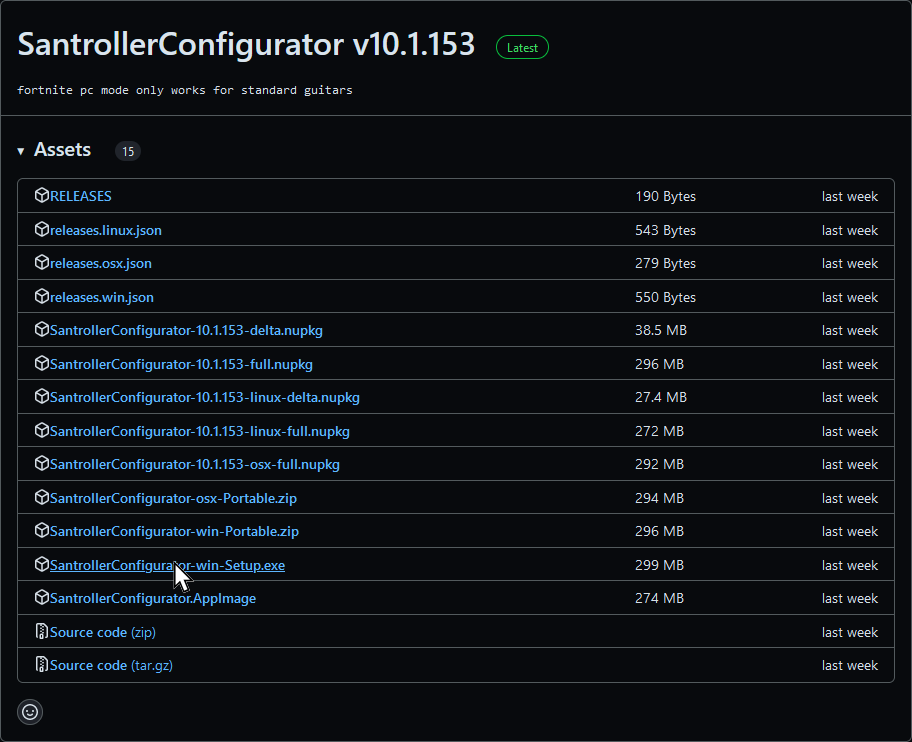
Download the latest version of Santroller.
After downloading Santroller, open “SantrollerConfigurator”.

Hold the “Boot” button on your Adafruit Feather RP2040 with USB Type A Host if you’re plugging it into your computer for the first time.

In SantrollerConfigurator, set “Input Type” to “USB Adapter.” The Adafruit Feather RP2040 with USB Type A Host should be detected as “Raspberry Pi Pico.” Click “Configure” after doing this.

Give it a moment to program initial configuration. When prompted, click on “Configure” again.

After you’ve loaded into the configuration page, scroll down to the “Presets” section and click to expand it. Once expanded, click on “Import Settings from File”
A community made preset exists (courtesy of jnack) to help speed things up. Load it up via the “Import Settings from File” option.
[Download the picoconfig preset here]

After loading the preset, MAKE SURE YOU CLICK ON “Save Settings” before closing the program or you will lose progress!

Mapping
By default, XInput has most things bound correctly. You only need to remap the following:
| RPCS3 | XInput | Guitar |
|---|---|---|
| R1 |  |
 |
| L2 |  |
 |
| Right Stick: Down |
 |
 |
Profile
After downloading the profile,
- Extract the .7z file.
- Drag the
input configsfolder into theconfigsfolder where you have RPCS3 in.

After that, you can select the profile in the “Pads” menu.

Most of the time, these controller profiles should work out of the box. If they don’t, try changing the controller listed in “Devices”, next to the “Refresh” button until it receives an input. You can edit this while the game is running.
Bindings
| RPCS3 | Guitar |
|---|---|
| Cross |  |
| Circle |  |
| Square |  |
| Triangle |  |
| L1 |  |
| D-Pad: Up |  |
| D-Pad: Down |  |
| D-Pad: Left |  |
| D-Pad: Right |  |
| Right Stick: Left/Right |
 |
| Right Stick: Up or Down |
|
| L2 | |
| R1 | |
| Start |  |
| Select |  |
| PS Button |  |
Additional Notes
The picoconfig preset binds a few things for a better experience with a PS4 Riffmaster.
- The “Boot” button on the Adafruit Feather RP2040 with USB Type A Host will act as a guide button as pressing and holding the guide button on the Riffmaster shuts it off.
- D-Pad: Left and Select are swapped as the PlayStation Riffmaster. This is because, by default, the PlayStation Riffmaster has Overdrive activation bound to D-Pad Left which is very uncomfortable.
If you wish to remove these tweaks, click the “Remove” next to the D-pad Left and Back buttons at the bottom of Santroller Configurator.

After that, go to the “Usb Host Inputs” section and enable the original buttons again.

Profile

Research by jnackmclain