NOTES
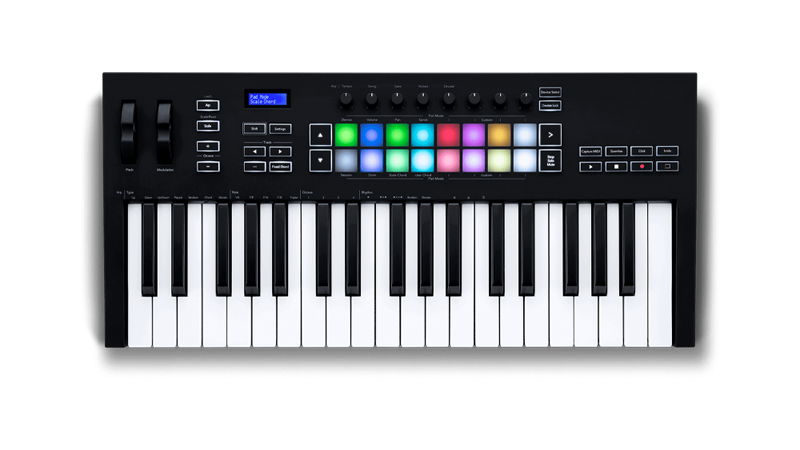
- It is suggested to have a keyboard with at least 37 keys or 25 keys and 11 drum pads.
- Your MIDI keyboard needs to:
- be set to MIDI Channel 1.
- have modultation and pitch controls.
- optionally have a sustain pedal
- Requires the latest version of [RPCS3]
- RPCN Menus (for sending or accepting online invites) will cause a softlock. You will need an alternative input method to navigate these menus, such as a typing keyboard or a gamepad.
Instructions
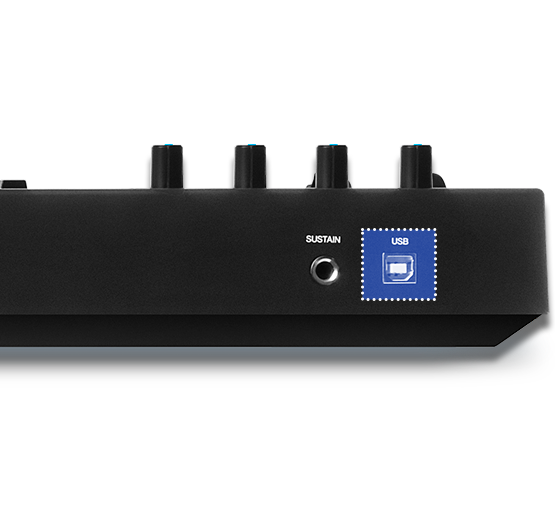
If your keyboard has a USB port, all you need to do is plug it into your computer.
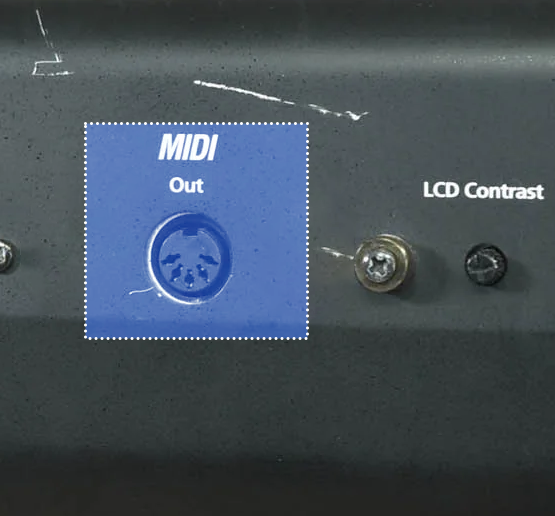
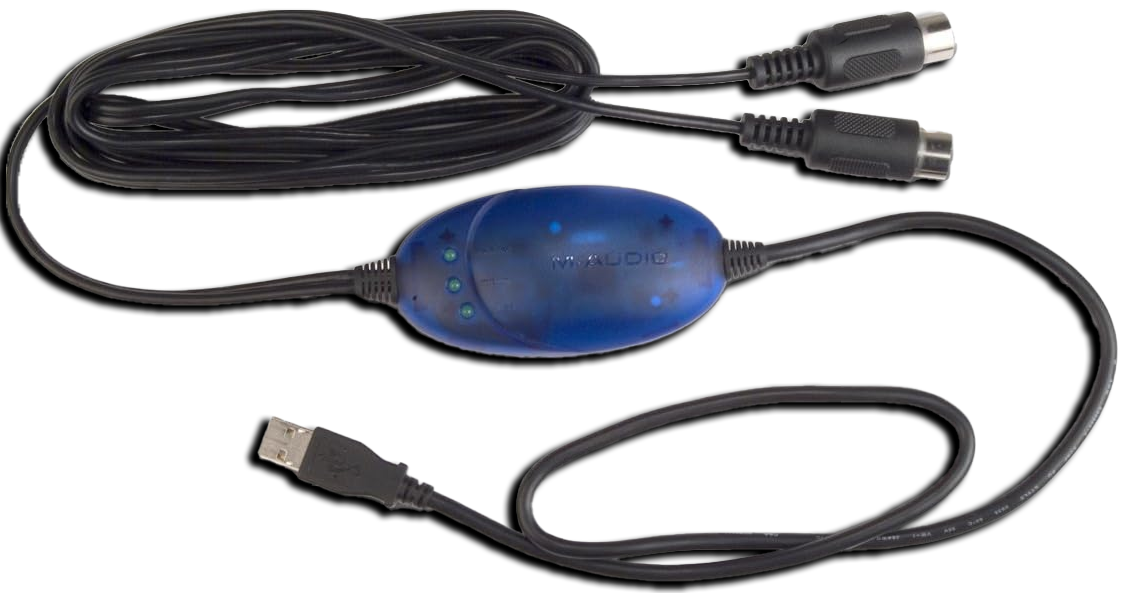
If your keyboard only has a MIDI output, you will need a MIDI to USB interface.
Here’s an example of a MIDI to USB interface. Most will come with an LED indicator to show activity. To check that you’ve plugged it in correctly, you should see “MIDI In” blinking when you press a key.
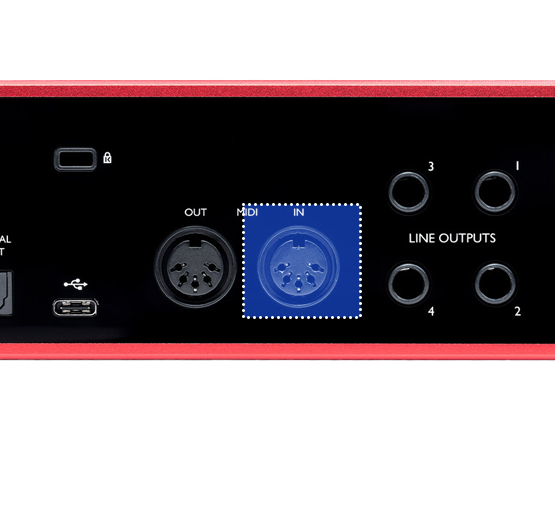
If you have an audio interface, you may already have a way to plug in MIDI to your computer, as some audio interfaces come with MIDI inputs. For example, this Scarlett has MIDI connections in the back.
Find whichever way is the most convenient for you then connect your MIDI Keyboard to your computer.
After that, right click on Rock Band 3 in RPCS3, then click on “Change Custom Configuration”.
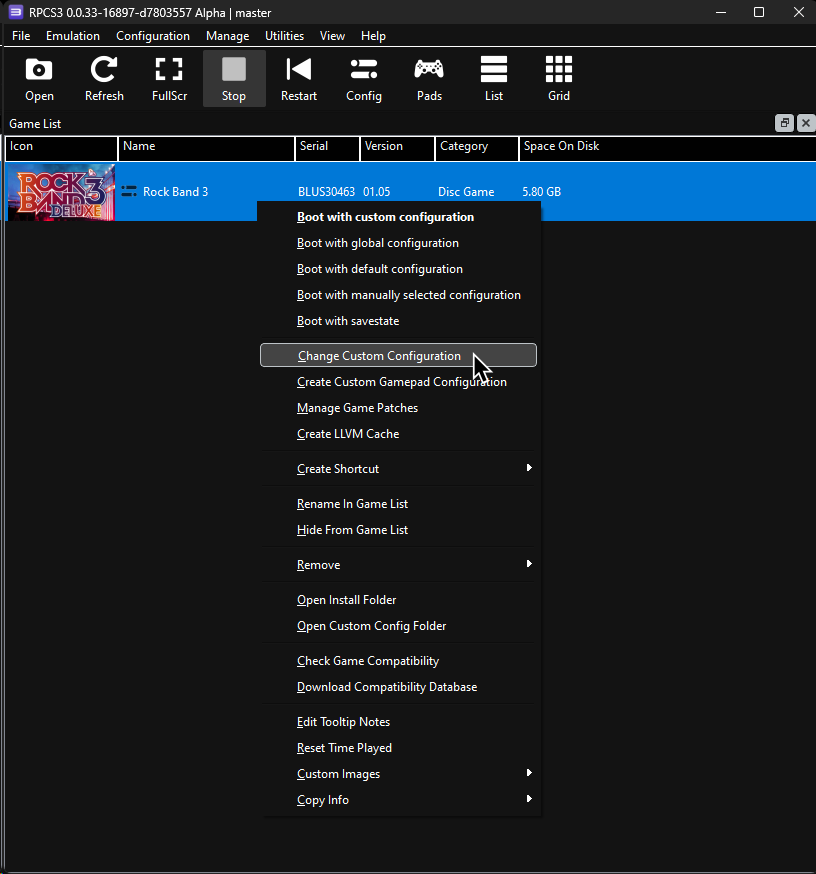
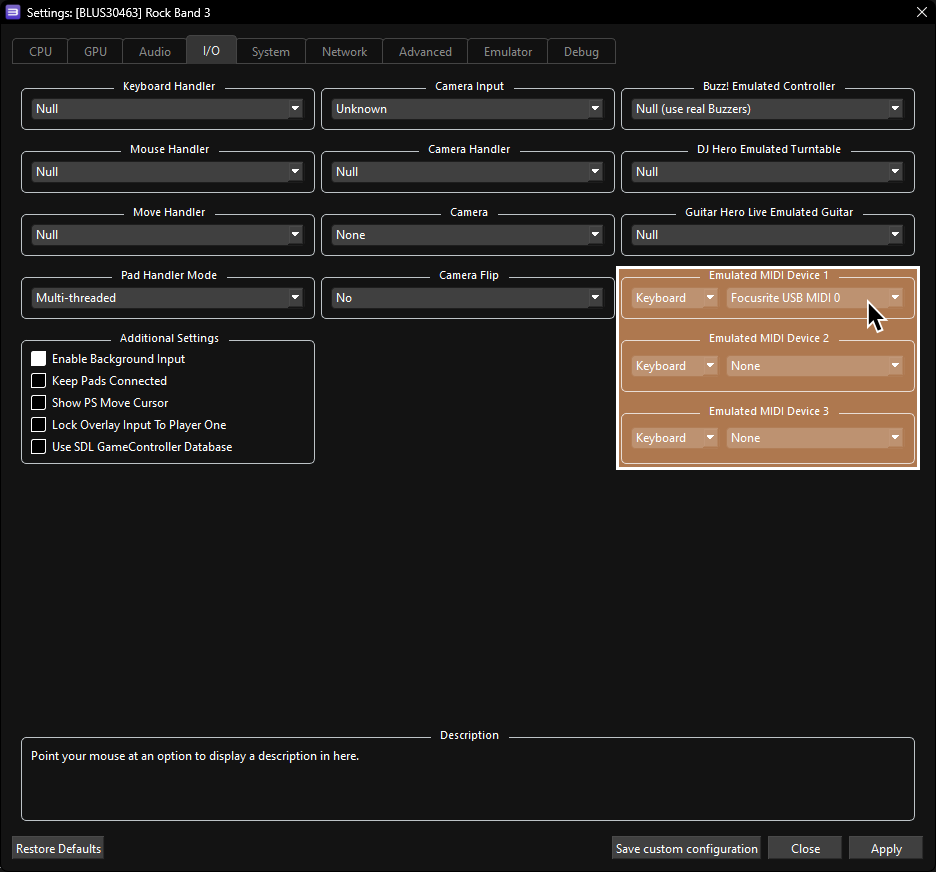
 :
:
- 🎹 Keyboard Players: Leave your “Emulated MIDI type” on “Keyboard” and select your keyboard or MIDI interface in the drop-down menu next to it.
Mapping
MIDI Keyboards have fixed bindings and cannot be changed within RPCS3.

| Note# | Note | Note (Yamaha) | Button |
|---|---|---|---|
| #36 | C2 | C1 |  |
| #38 | D2 | D1 |  |
| #40 | E2 | E1 |  |
| #41 | F2 | F1 |  |
| #43 | G2 | G1 |  |
| #45 | A2 | A1 | Deploy Overdrive |
| #37 | C#2 | C#1 |  |
| #39 | D#2 | D#1 |  |
| #42 | F#2 | F#1 |  |
| #44 | G#2 | G#1 |  |
| #46 | A#2 | A#1 |  |
| Pitch Bend | Pitch Bend | Pitch Bend | Whammy/Touch Strip |
| CC#1 | Modwheel | Modwheel | Deploy Overdrive |
| CC#64 | Sustain | Sustain | Deploy Overdrive |
25 Key Keyboards
Keyboards with less than 25 keys will have to shift octaves when switching between the game keys and the game buttons.
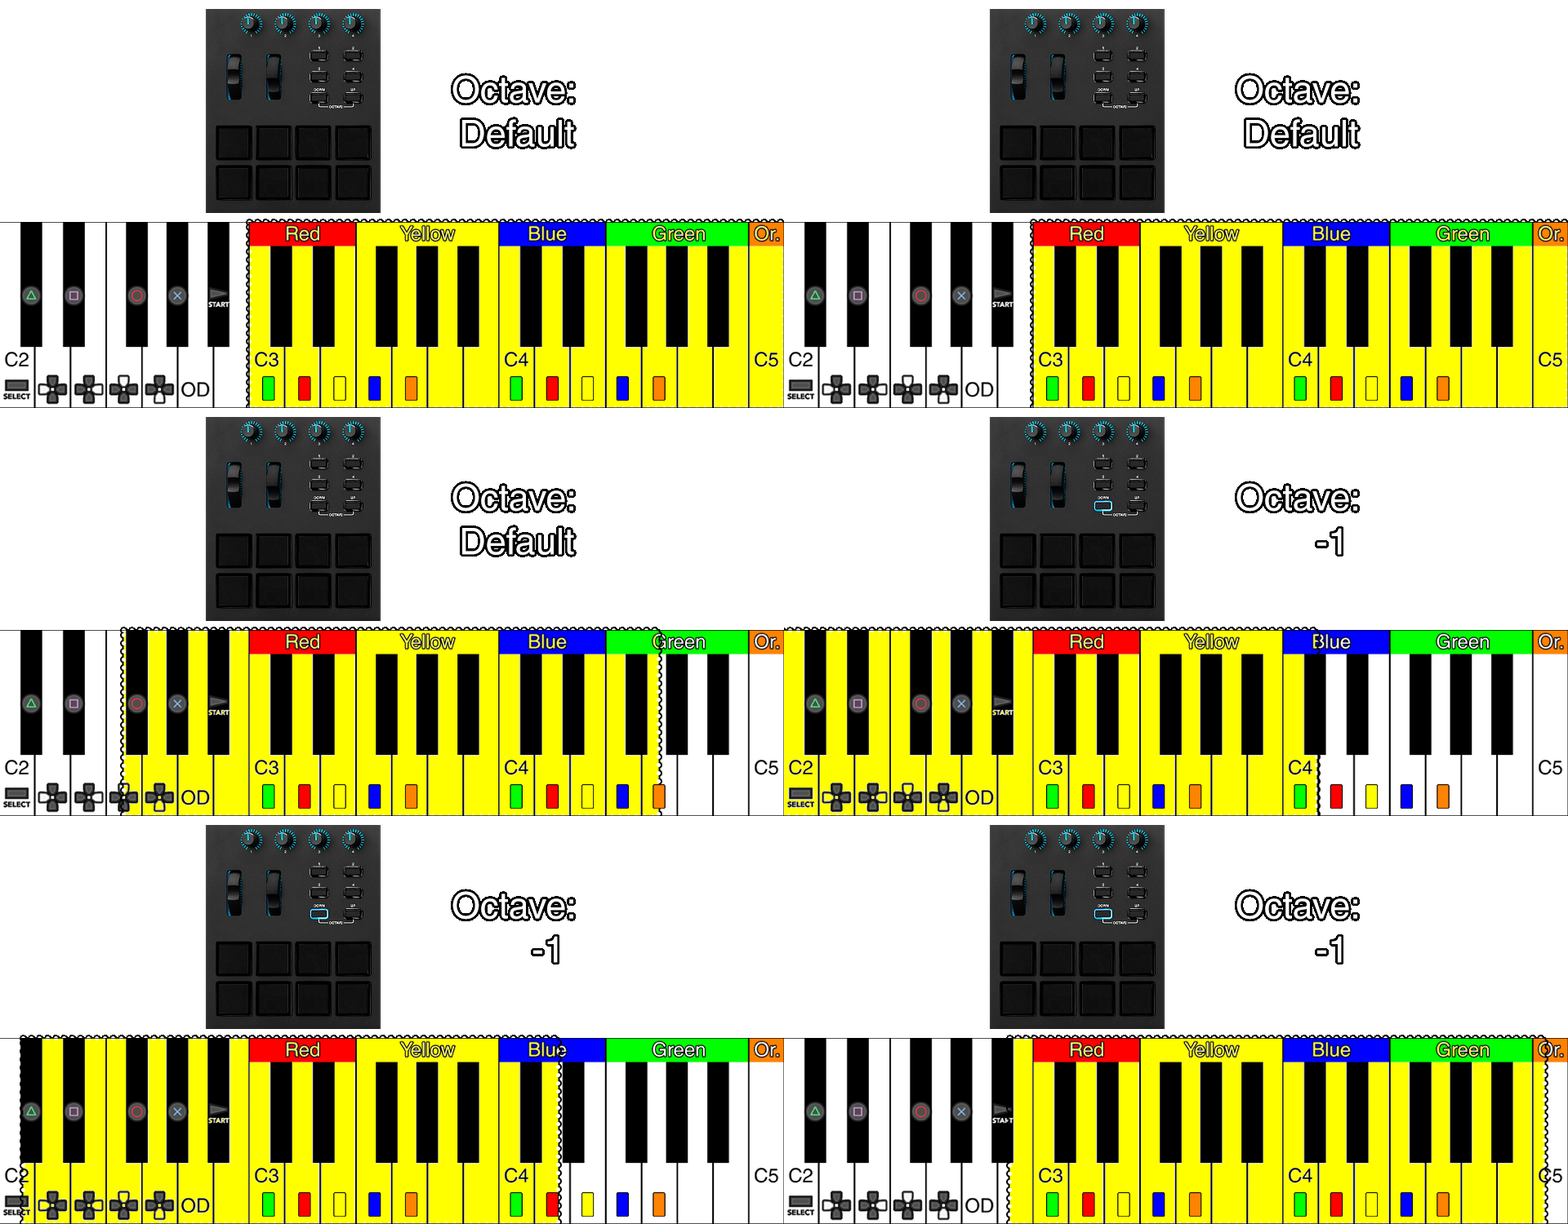
You can use your regular computer keyboard and convert its key presses to the MIDI notes that correspond to the game buttons in case you want to avoid swapping octaves constantly.
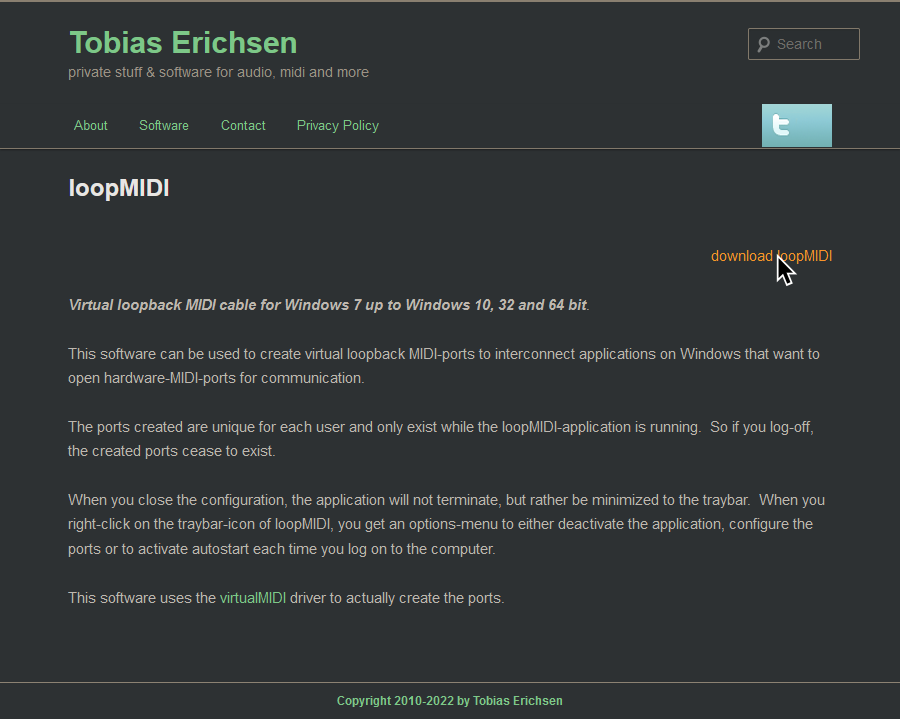
First, [download loopMIDI].
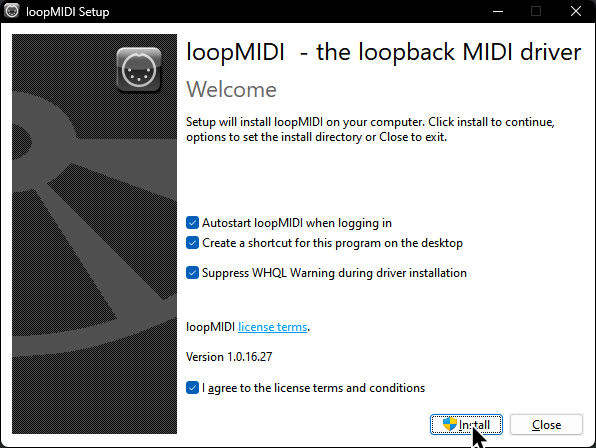
Install loopMIDI. Launch it after it finishes.
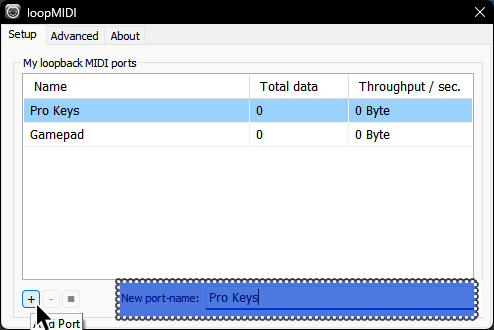
Add two new ports by clicking on the + button in the bottom. You should name the ports, too. They’ve been named “Pro Keys” and “Gamepad” in this example.
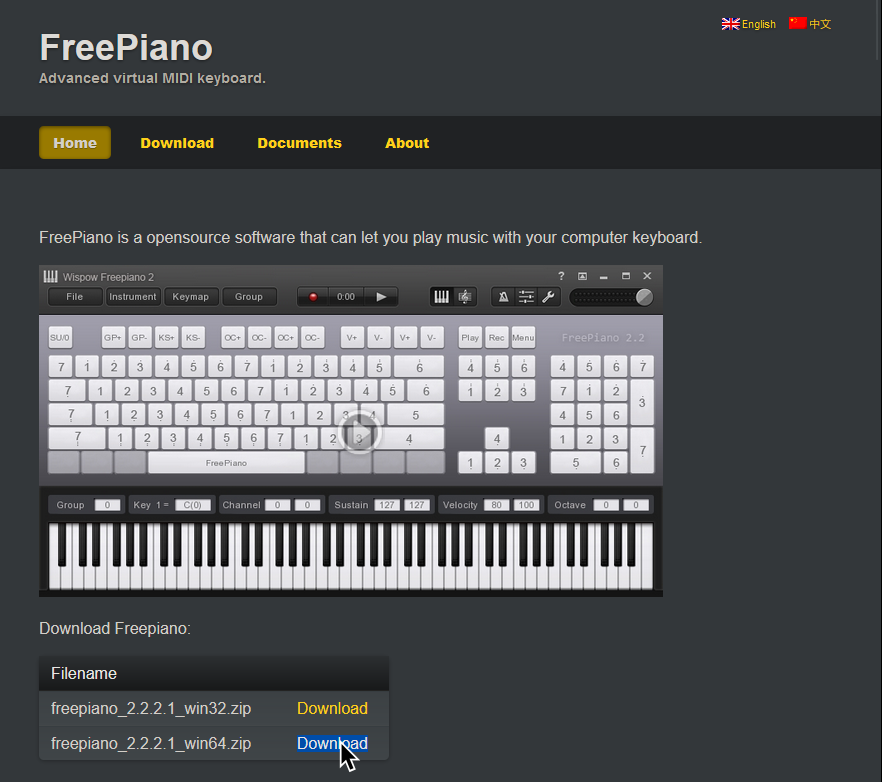
Now, [the .zip archive that contains the win64 version of FreePiano].
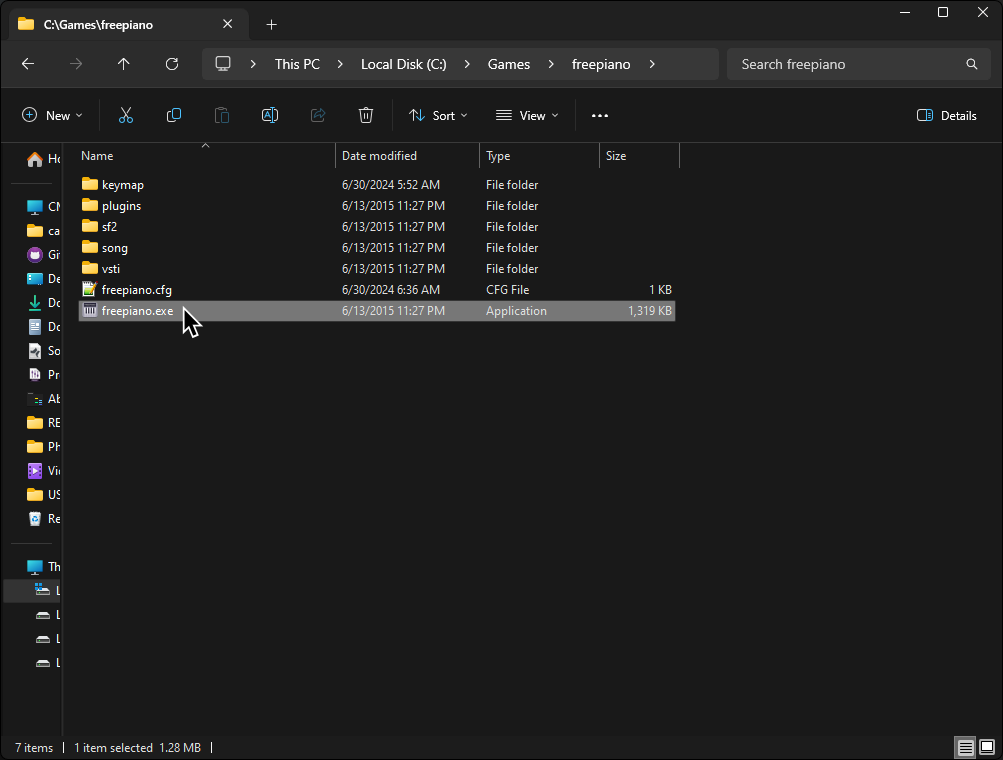
Extract the .zip archive somewhere you can easily find it. It was extracted to C:\Games\freepiano in this example.
Go to where you extracted FreePiano and run the freepiano executable.
Assign the keys to your liking as shown in the [#mapping] section above.
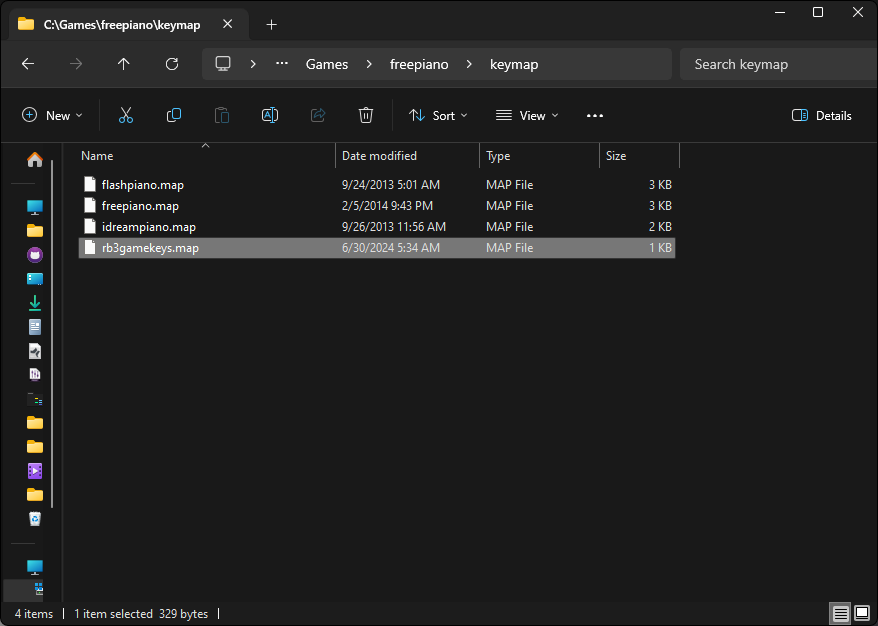
There is also a premade profile if you’d like, which you can [download here].
To use the preset, place the rb3gamekeys.map file in the keymap folder located where you extracted FreePiano.
Select rb3gamekeys.map in the “Keymap” dropdown button to load the premade profile. Likewise, if you made your own profile or edited the premade profile, you can click on Save to save your profile.
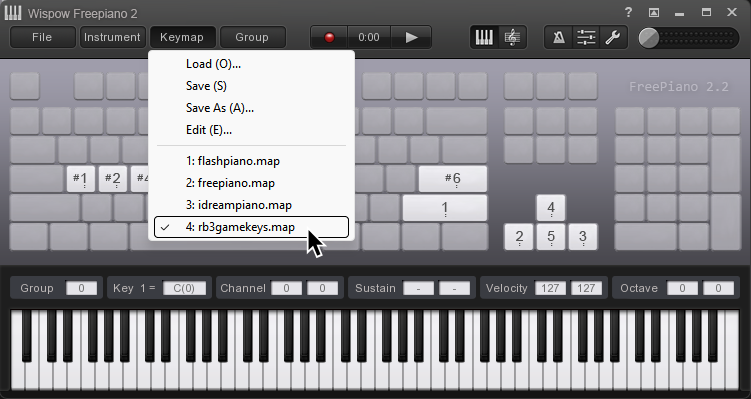
The premade profile is mapped like this:
| Key | Action |
|---|---|
| Enter |  |
| Shift |  |
| Up |  |
| Down |  |
| Left |  |
| Right |  |
| A |  |
| S |  |
| D |  |
| F |  |
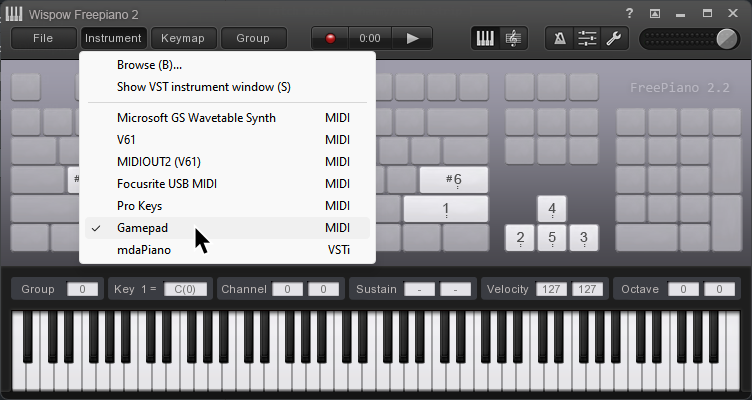
Once you are done mapping, click on “Instrument” at the top of Freepiano’s window and select the “Gamepad” MIDI output, which you made with loopMIDI earlier.
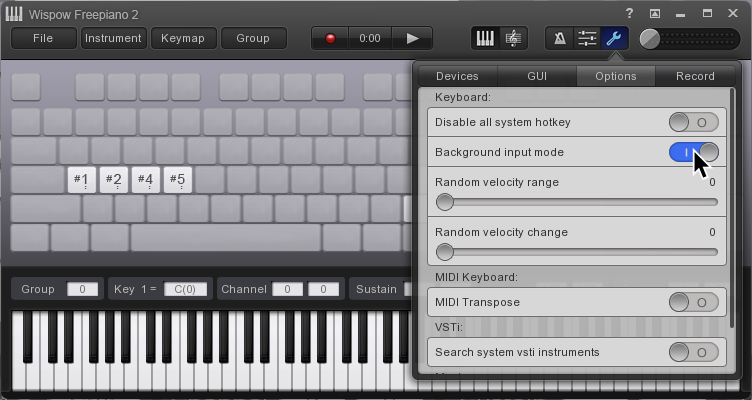
It’s suggested you enable “Background input mode”, located within the “Options” tab which is accessed by pressing the Wrench icon in the top right side of FreePiano.
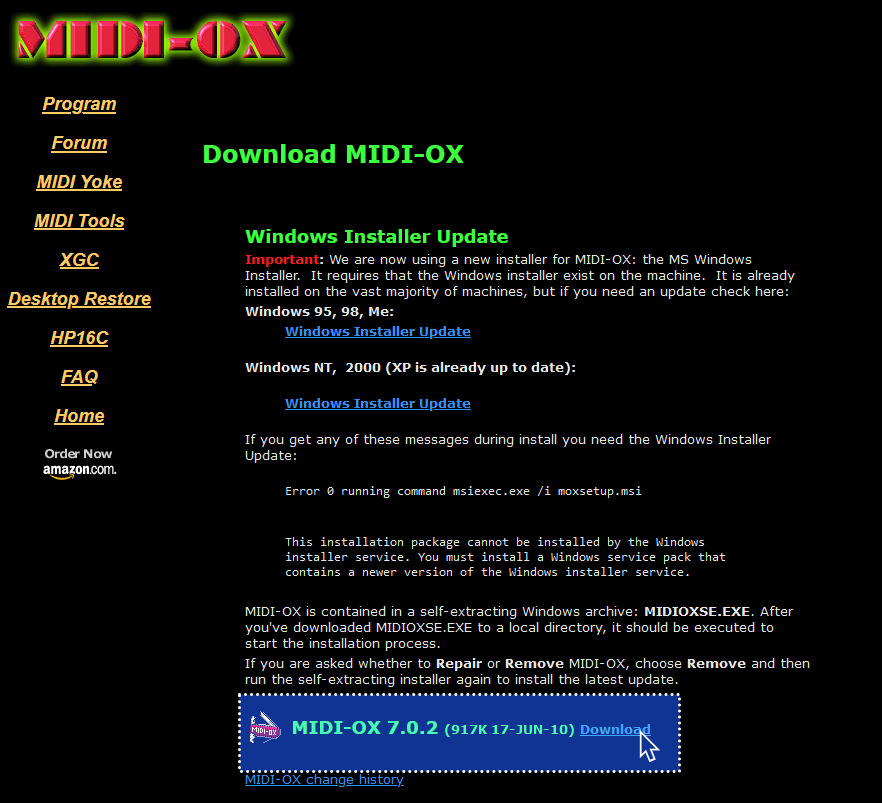
Now, [download MIDI-OX].
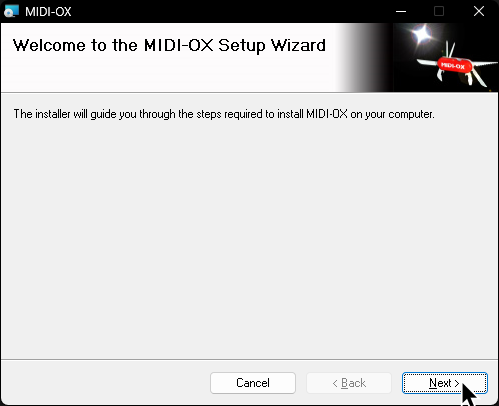
Install MIDI-OX.
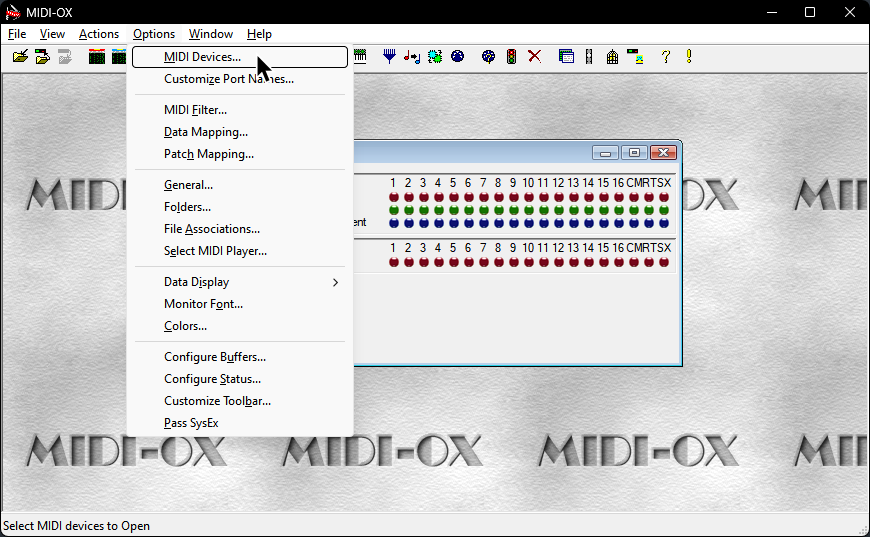
Open MIDI-OX then navigate to Options > MIDI Devices
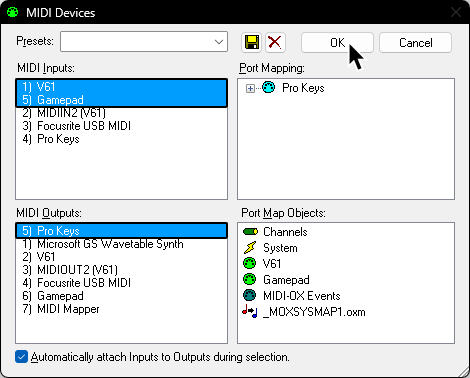
In the MIDI Devices Menu, select your keyboard and the port you made in loopMIDI (“Gamepad”) for FreePiano in the MIDI Inputs section.
Select the other port you made in loopMIDI (“Pro Keys”) in the MIDI Outputs. This will combine both MIDI inputs into a single output.
Finally, in RPCS3, go to Rock Band 3’s Custom Configuration then go to the I/O tab. Select the port that you selected as your output in MIDI-OX (“Pro Keys”).
![Settings: [BLUS30463] Rock Band 3 A screenshot of Rock Band 3's I/O custom settings, showing Emulated MIDI Devices, device type, and device selection highlighted in tan with a solid outline. It is set to "Keyboard - Pro Keys 3"](https://rb3pc.milohax.org/images/instruments/xtra/midi/midictrlrpcs3.png)
That’s it. Remember to close all three different programs when you’re not using them because they may cause issues with certain shortcuts on Windows.
You will have to reopen these programs every time you want to play.
Implementation by [Dark]
