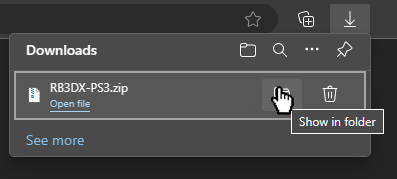
Now, go to the folder where you extracted RPCS3. Keep this folder open in the background. Open up RPCS3.
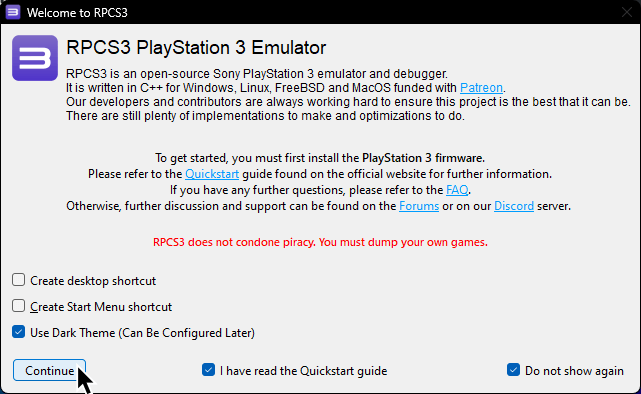
Tick:
- “
Create desktop shortcut” - “
Create Start Menu shortcut” - “
I have read the Quickstart guide” - “
Do not show again”
Disable:
- “
Show at startup”
After that, click “Continue.”
Firmware
Drag the PS3UPDAT.PUP file you just downloaded from Sony’s website into RPCS3.
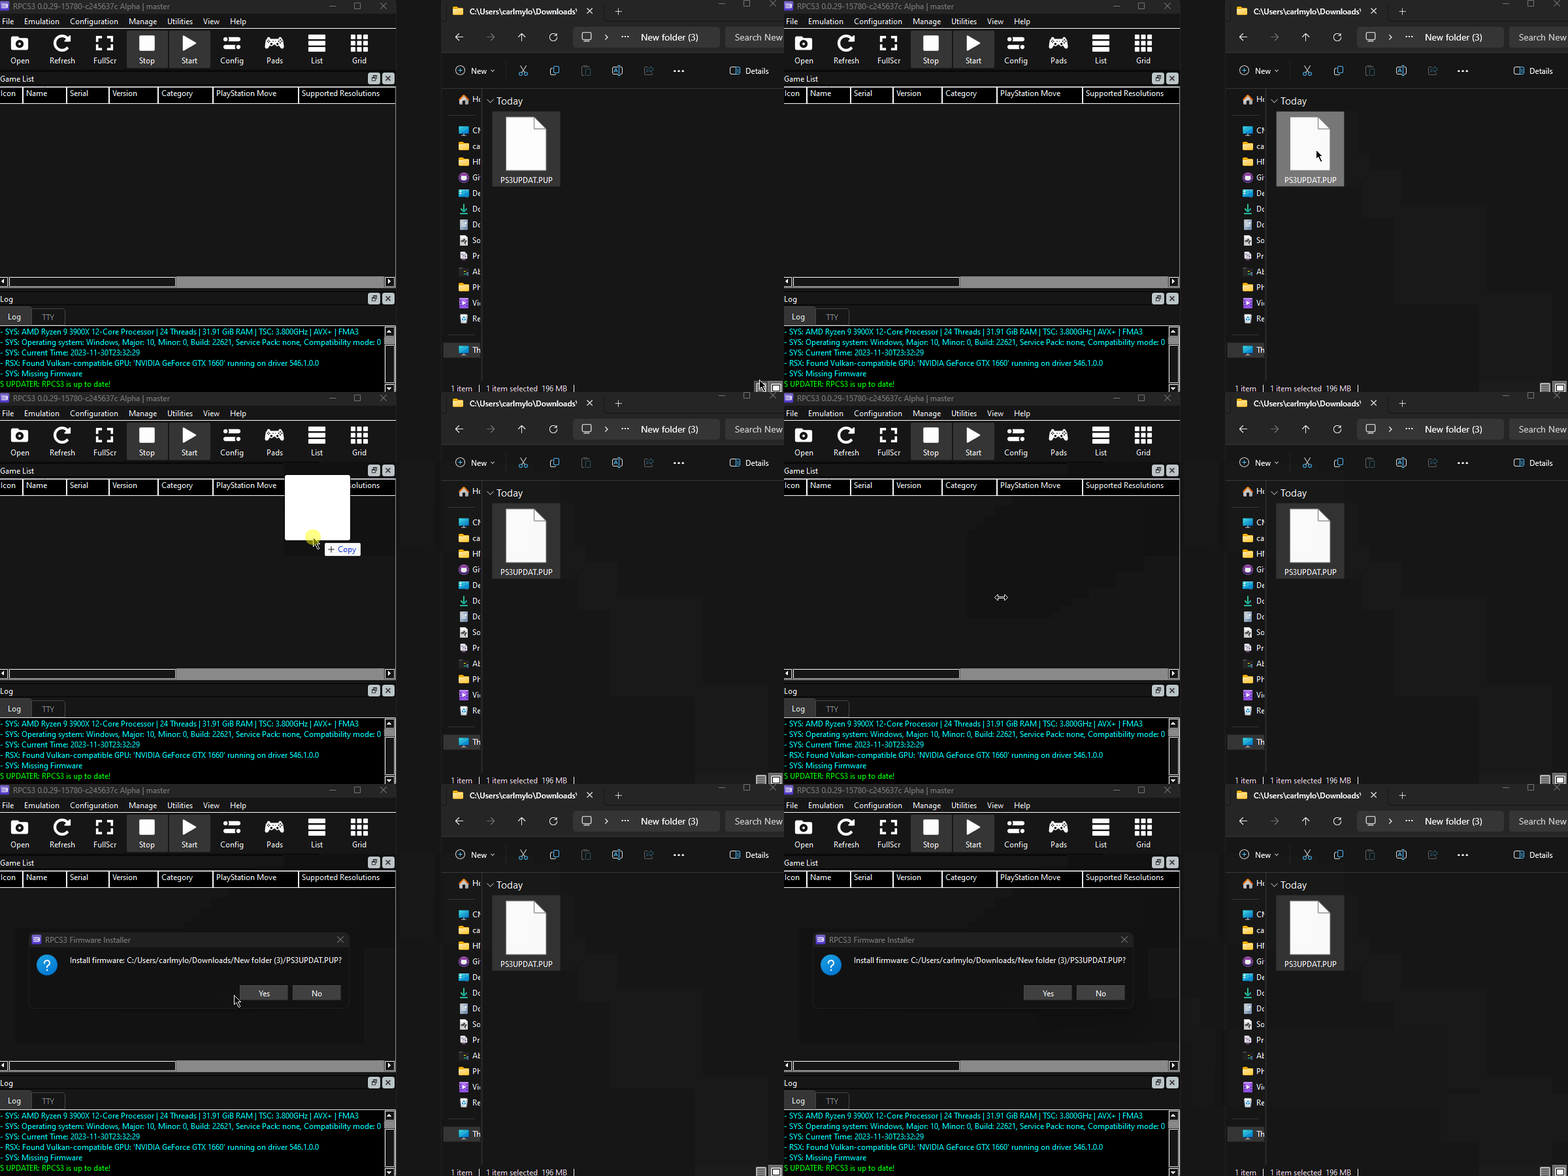
Click “Yes“ when the firmware installer prompts you.

Let it install.
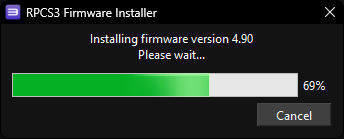
When it finishes, click “OK.”
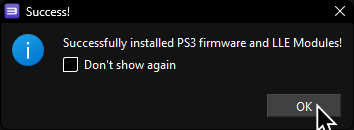
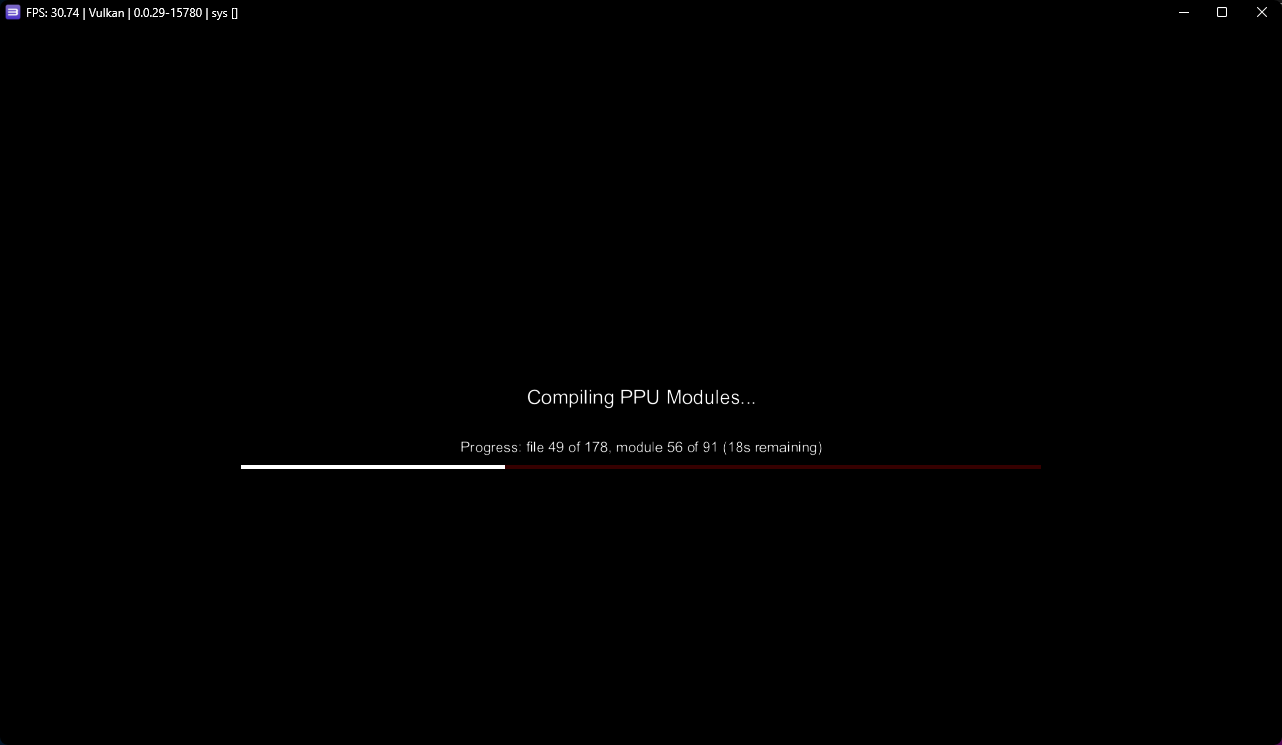
It will start compiling modules to load the PS3 XMB into the emulator, which may take a few minutes. You can either let it do its thing or close it.
Rock Band 3
Next, open a new file browser window. Now go to the folder where you have your copy of Rock Band 3 stored and drag the folder into RPCS3’s “games” folder. Again, you’re on your own when it comes to finding a copy. [“PS3 Disc Dumper” is the easiest way].
![Rock Band 3 [BLUS30463] A GIF of the dumped folder of Rock Band 3 being dragged into RPCS3's "games" folder.](https://rb3pc.milohax.org/images/install/rpcs3rb3dnd.gif)
After dragging it in, click “Refresh” in RPCS3.
![Rock Band 3 [BLUS30463] A GIF of "Refresh" being clicked in RPCS3, which updates it to display Rock Band 3 in the game list.](https://rb3pc.milohax.org/images/install/rpcs3refresh.gif)
Rock Band 3 Deluxe
Finally, let’s install Rock Band 3 Deluxe.
This is a must-have mod, which also fixes some critical bugs RPCS3 has with Rock Band 3. On top of that, it adds [many great features].
[Click here to download Rock Band 3 Deluxe].
Download either the Nightly or Beta version
When it’s finished downloading, extract the archive.
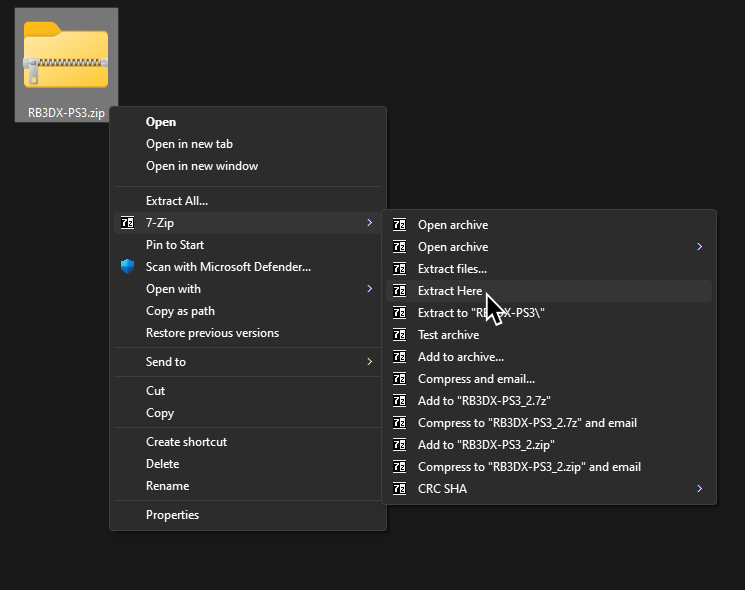
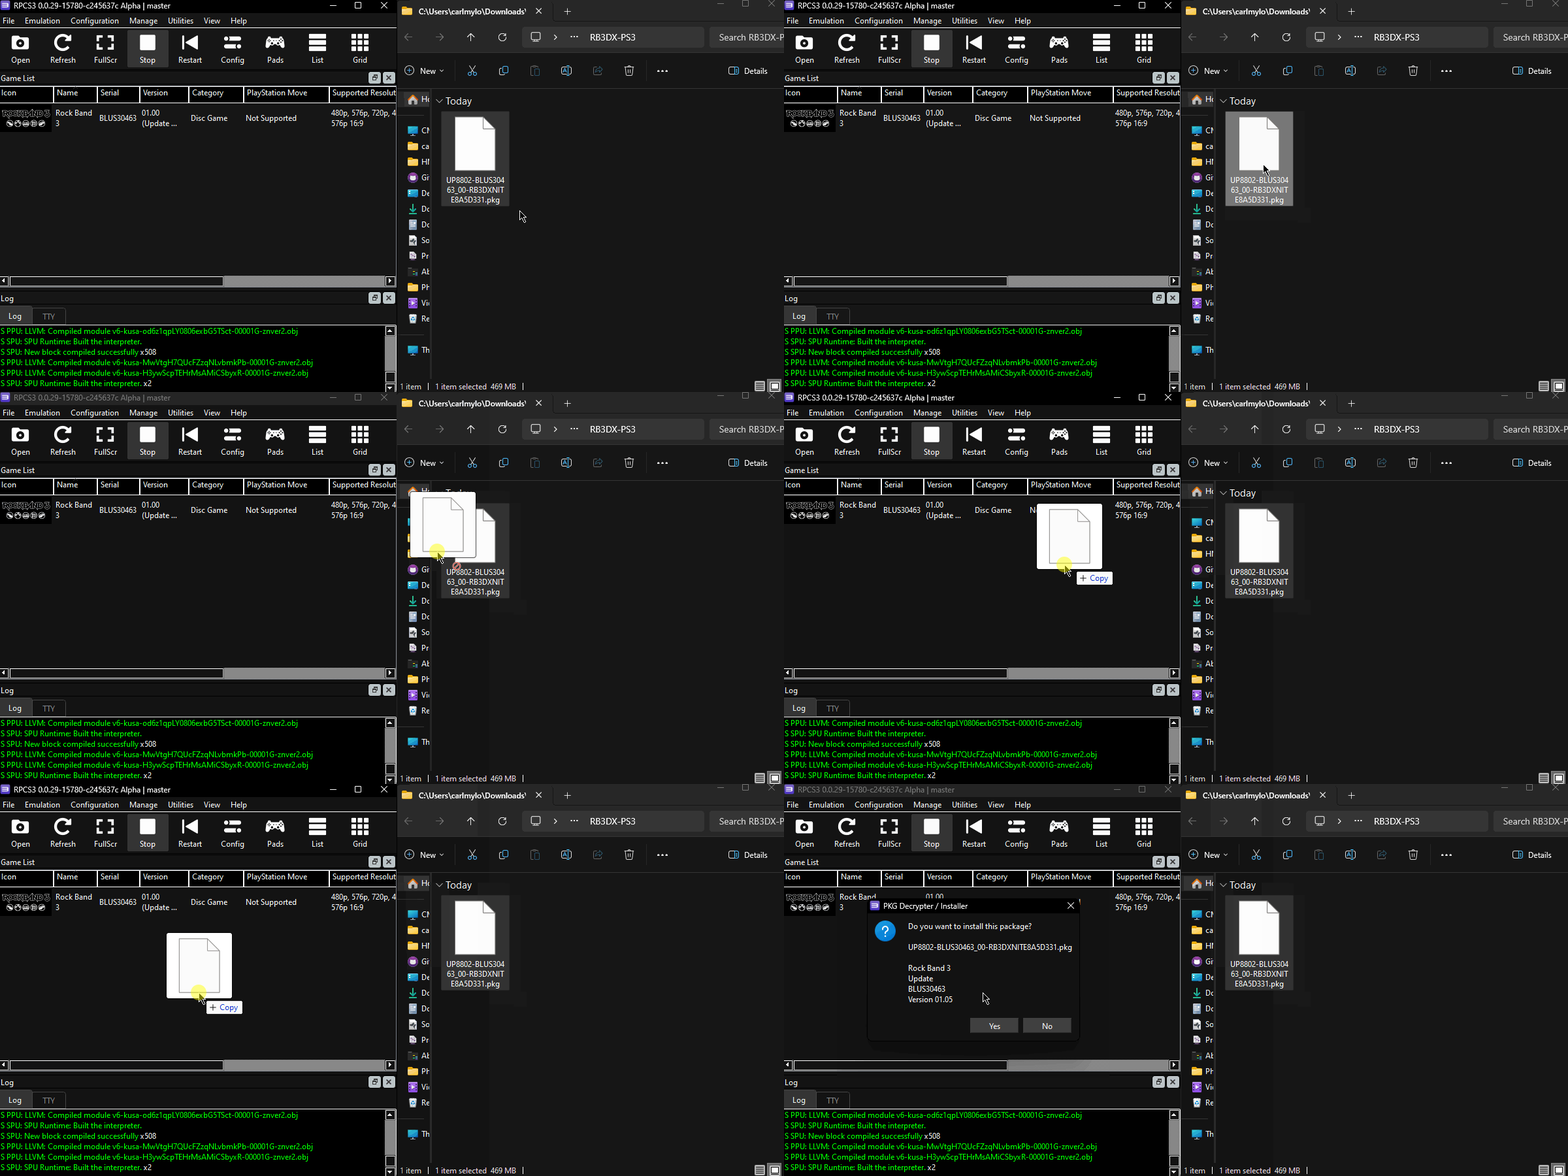
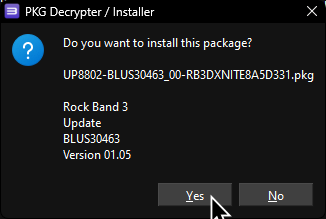
When it finishes extracting, drag the PKG file into RPCS3 and click “Yes“ on the prompt, just like you did earlier with the PS3UPDAT.PUP file.
The best way to check if Rock Band 3 Deluxe installed correctly is to enable Prefer Game Data Icons under View > Game List Icons.
![]()
If it installed successfully, you should see that the Rock Band 3 icon has changed.
![]()
You can also rename the game in the list to “Rock Band 3 Deluxe” if you wish. To do this, right-click on “Rock Band 3” and select “Rename In Game List.”
