How to move Rock Band 3's files to a different location than the emulator.
This is meant for advanced users only. Your game and installation may break! Proceed with caution!
If Rock Band 3’s files are taking up too much space on your main drive, you can move them to a different drive while keeping RPCS3 itself on your main drive.
Make sure RPCS3 is closed before starting this.
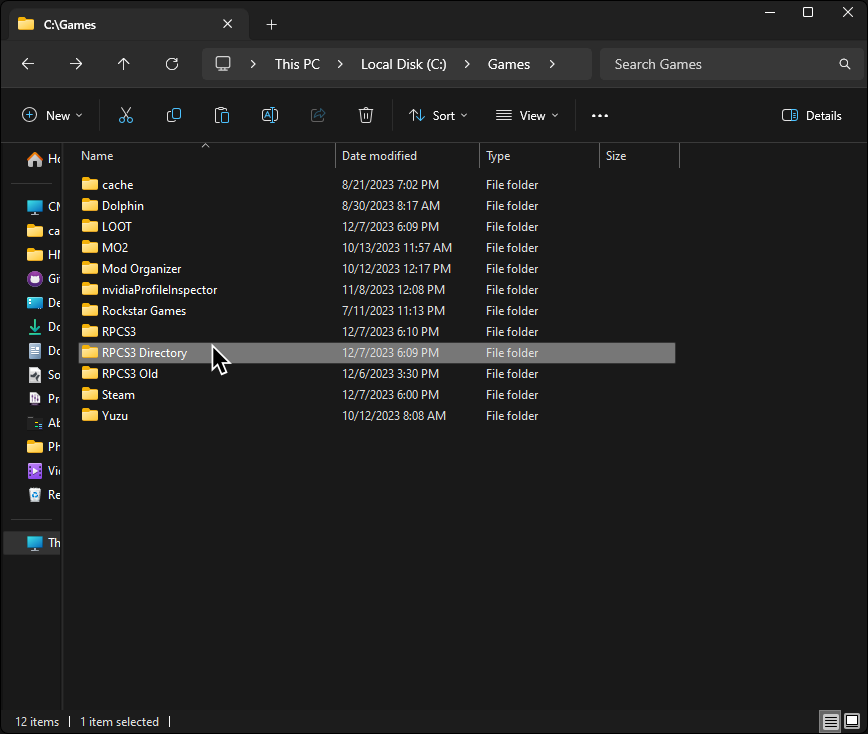
First, create a folder where all of this stuff will be moved to.
I’ll be naming the folder “RPCS3 Directory” in this tutorial.
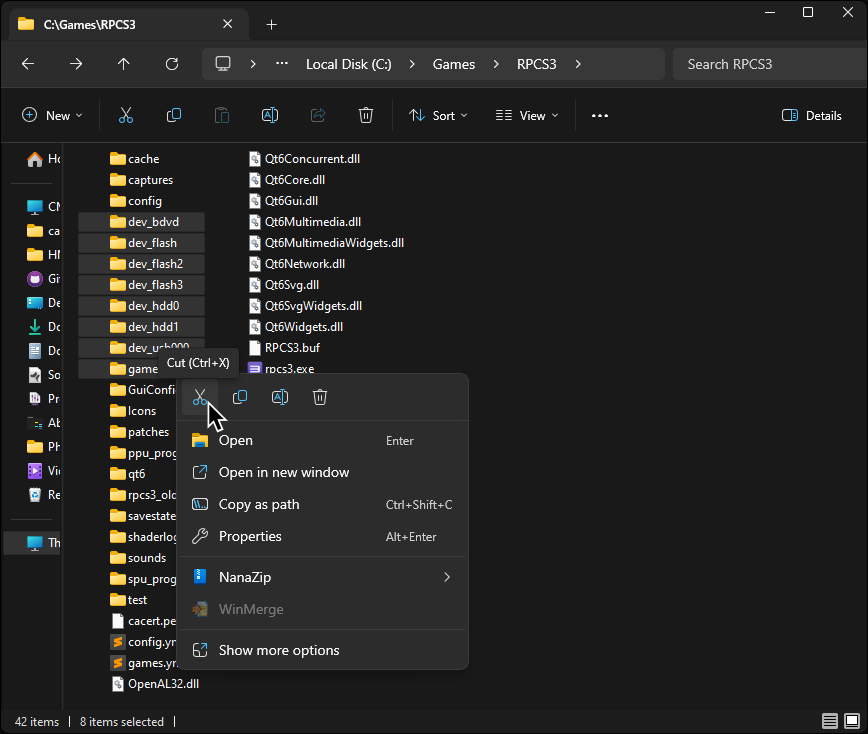
Now, back in the folder RPCS3 is in, cut the following folders:
dev_bdvddev_flashdev_flash2dev_flash3dev_hdd0dev_hdd1dev_usb000games
Paste them inside of the folder you created.
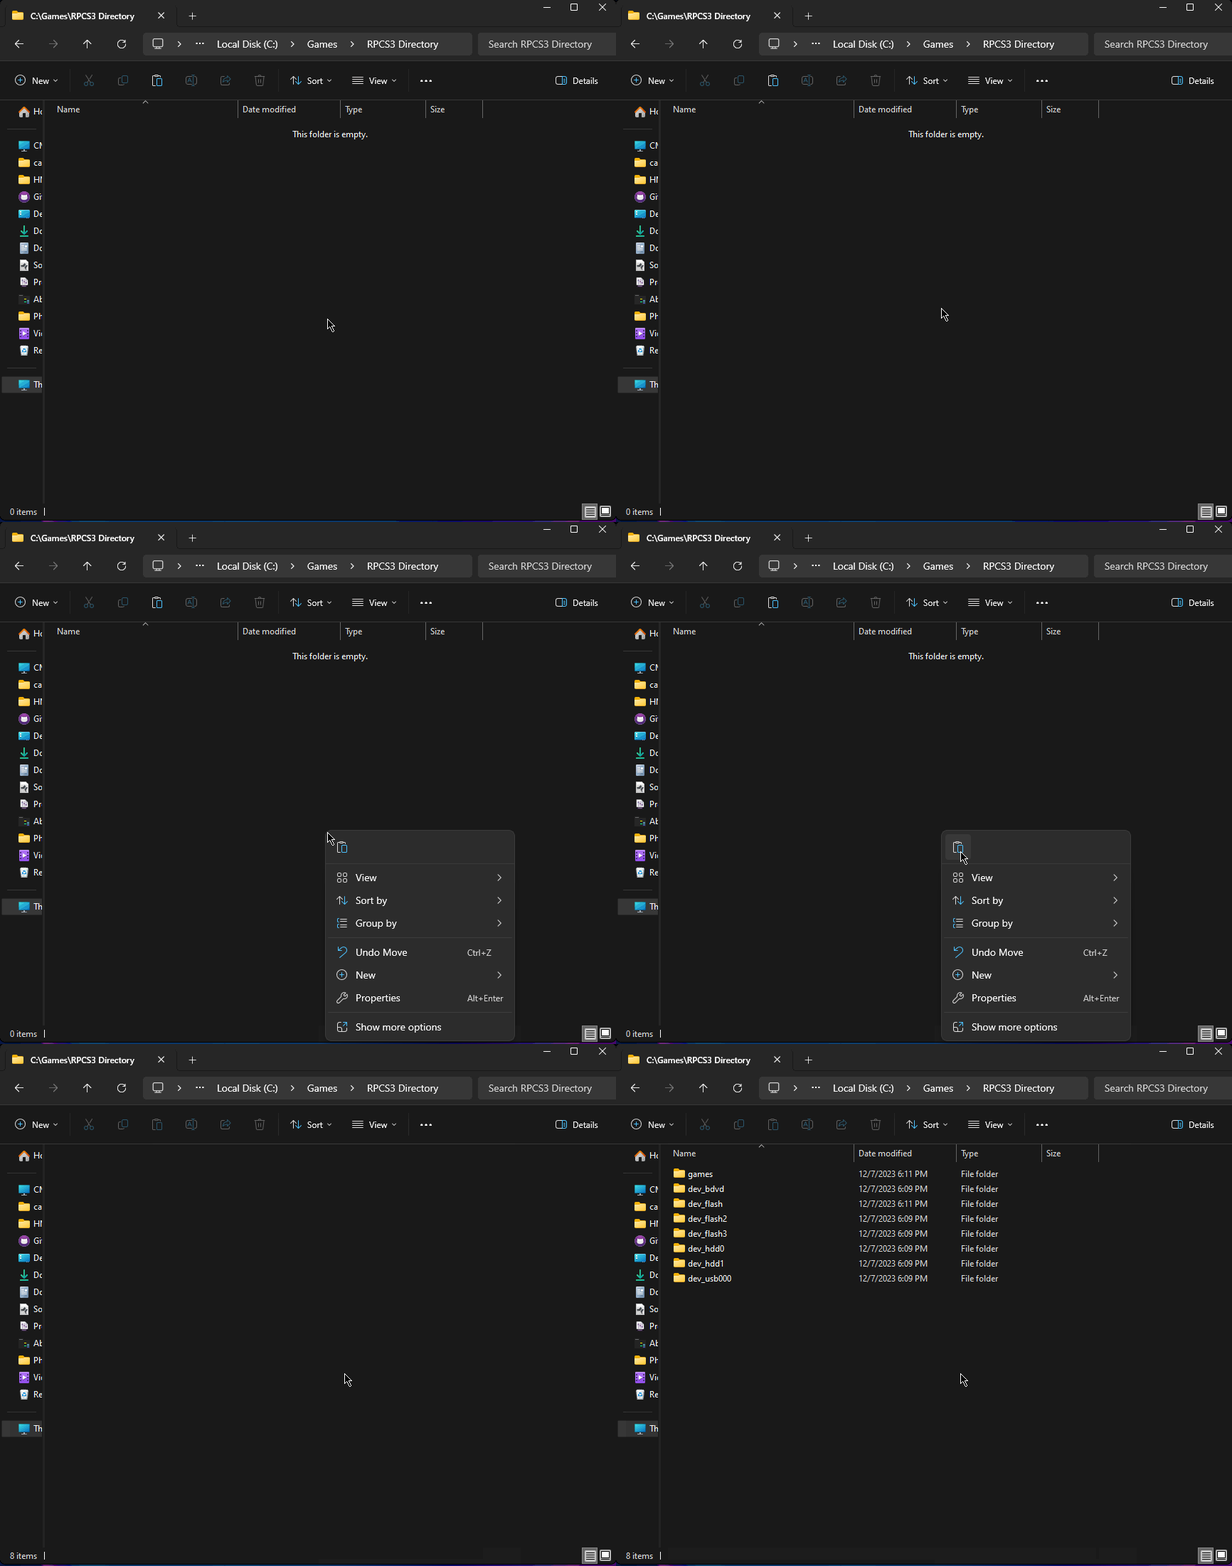
When it finishes pasting, reopen RPCS3.
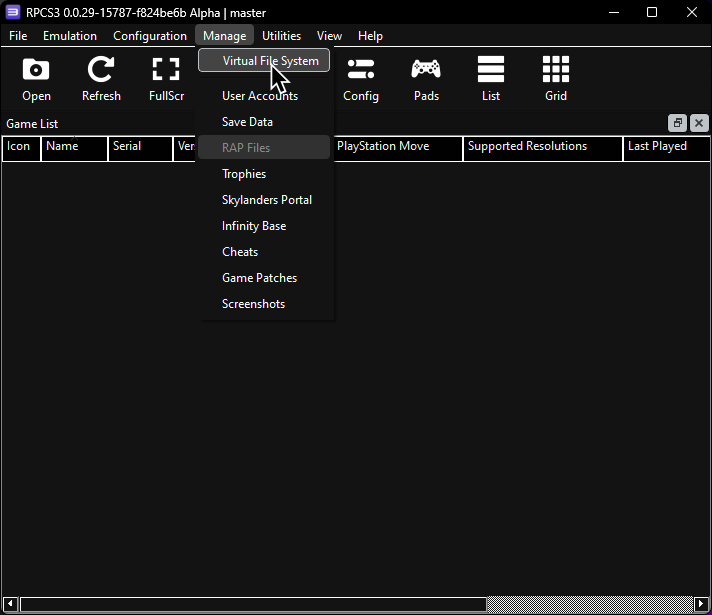
Click on Manage > Virtual File System
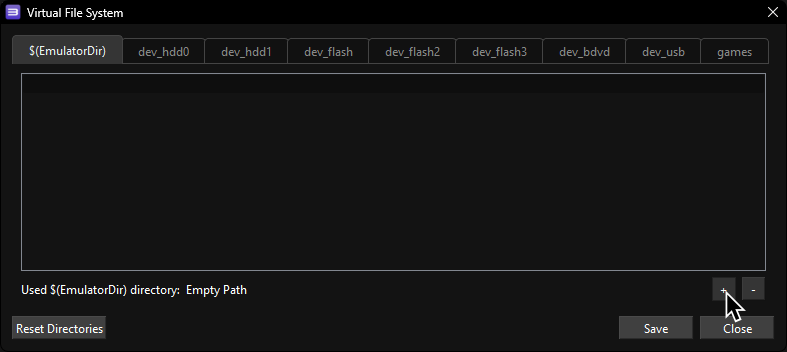
In the Virtual File System window, click on the + symbol near the bottom right.
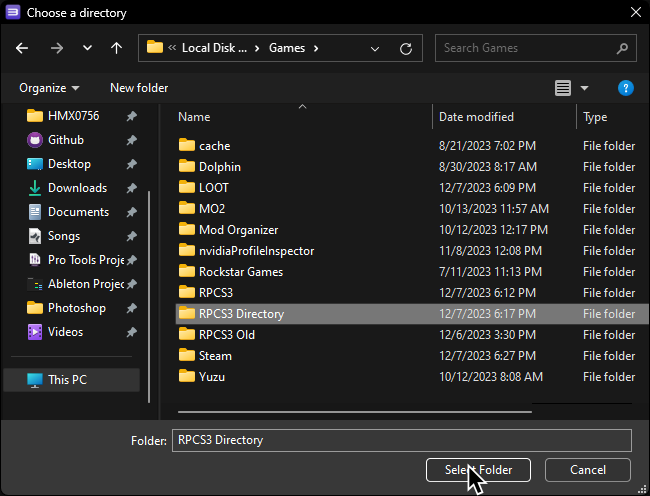
Go to the folder you created, click on it, and then click on “Select Folder.”
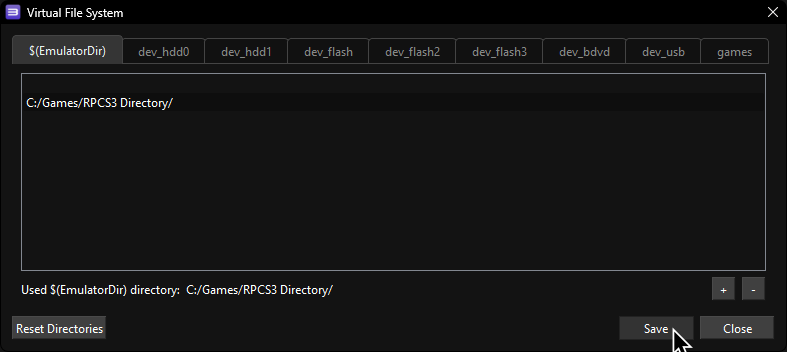
Finally, click “Save”.
That’s it!