How to set up RPCN to play online.

Before hopping online, you need to create an RPCN account. RPCN is RPCS3’s equivalent of PSN (PlayStation Network.) We’ll be going over how to create an RPCN account and manage friends on it.

Go to Configuration > RPCN A screenshot of RPCS3's Configuration with "RPCN" highlighted
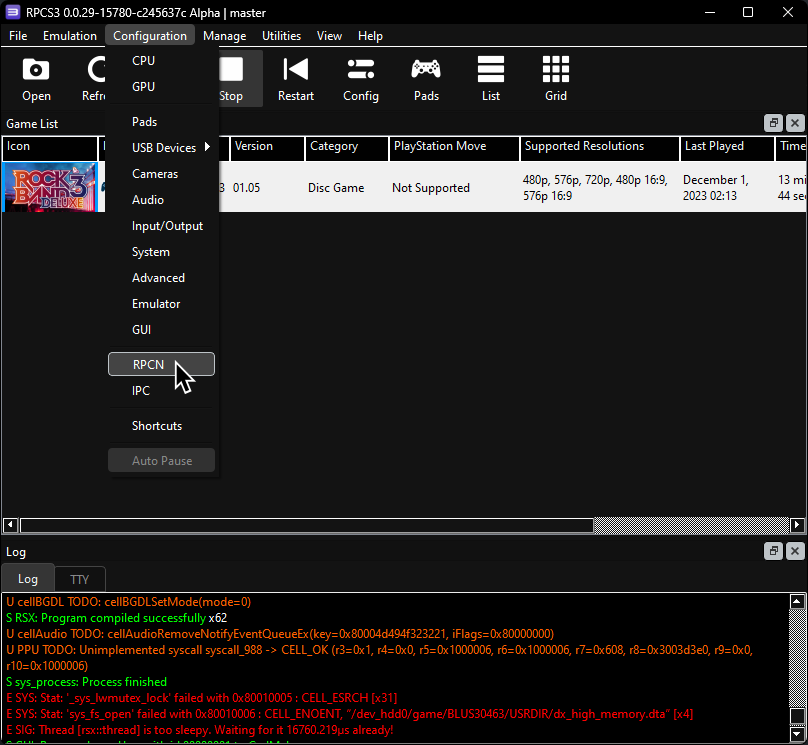
Click on “Account”:
A screenshot of RPCS3's RPCN menu with "Account" highlighted

Click “Create Account”:
A screenshot of RPCS3's RPCN: Account menu with "Create Account" highlighted

Enter a username and password:
A screenshot of RPCS3's RPCN: Username menu with a username set and "OK" highlighted
A screenshot of RPCS3's RPCN: Password menu with an obscured password set (twice for verification) and "OK" highlighted

You will be prompted for an email address so you can receive a verification token:
A screenshot of RPCS3's RPCN: Email menu with an email (twice for verification) set and "OK" highlighted

Next, you will be asked to confirm your account’s creation. Click “Yes”.

A screenshot of RPCS3's RPCN: Account Creation popup, asking the user if they're ready to create their account, with "Yes" highlighted

Now go to your email inbox to check for your verification token. The email will be called “Your token for RPCN” You may have to wait a few minutes to get it. If you’re still waiting, check your spam inbox.
Copy the token:
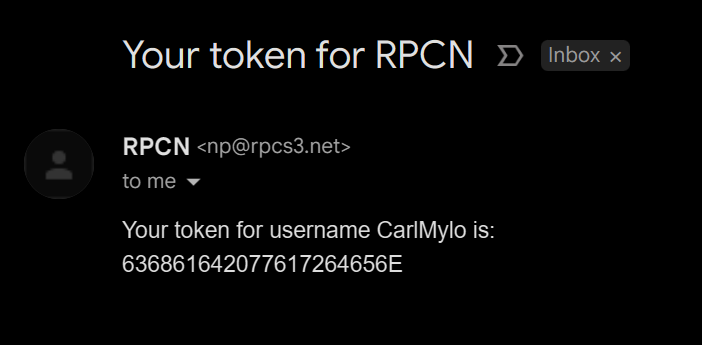
A screenshot of an email labeled "Your Token for RPCN" with a token below what username it's for

Paste the token into RPCS3 and click OK:
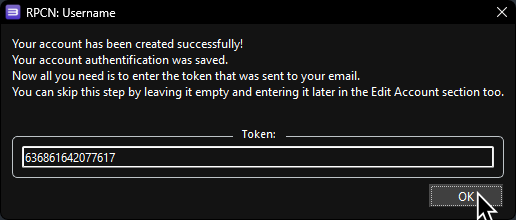
A screenshot RPCS3 telling the user an account was successfully created. They are also prompted for the verification token to reset their password in the future.

Tags: online english