
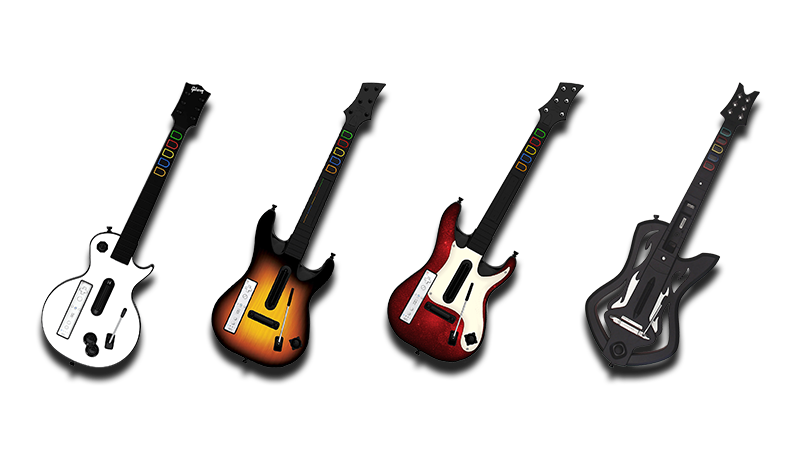
NOTES
- Requires installing and running [WiitarThing] along with its dependencies.
- This configuration requires connecting wirelessly via Bluetooth. You need a Bluetooth receiver to connect to your computer.
- It’s suggested to mod your guitar into a wired one with a solution like [a V3 adapter by RetroCultMods]. a [Revival Kit from RetroCultMods], or a [Solderless DIY RGB Kit from RetroCultMods].
- Tilt is busted on this controller!
- RPCN Menus (for sending or accepting online invites) may cause a softlock. You may need an alternative input method to navigate these menus, such as [a typing keyboard or a gamepad].
Initial Setup
-
After installing [WiitarThing] along with [ViGEmBus], open it up.
-
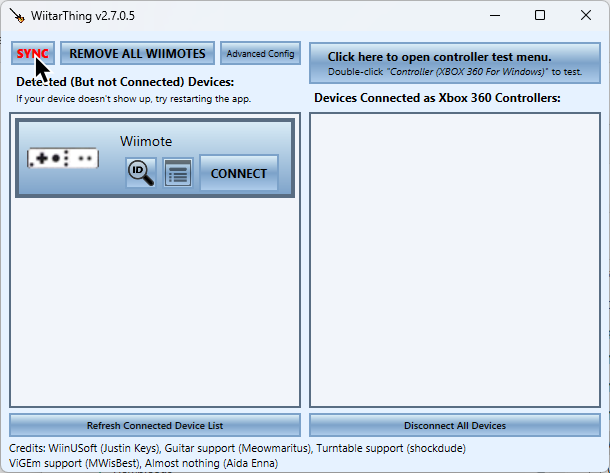
Press the
[SYNC]button at the top left.
-
Press either the red
SYNCbutton on the back of your Wii Remotea or press both1+2at the same timeb. You may have to try this a few times.
a

b

-
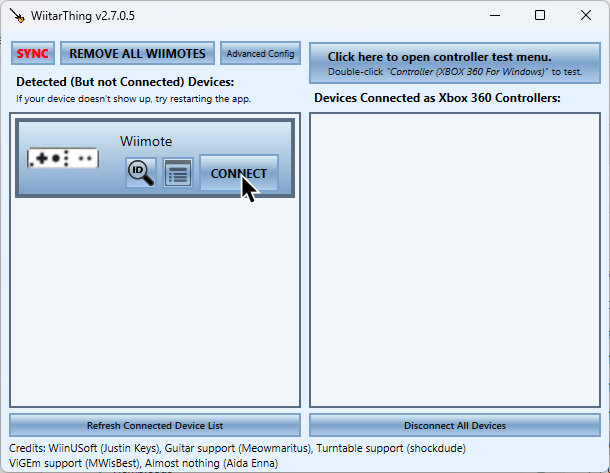
Once it’s synced, click
[CONNECT].
-
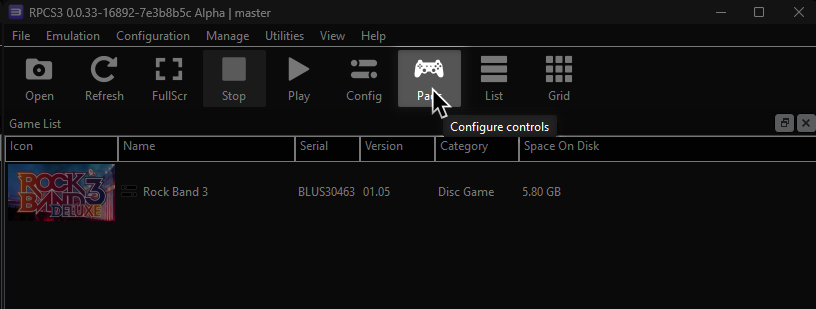
Open RPCS3’s
Padsmenu.
Click on the Pads icon at the top of RPCS3.
It’s suggested to create a new configuration by clicking Add Configuration at the top right of the Pads window.
This is so you can change configuration profiles in case you want to play games that don’t use instruments.
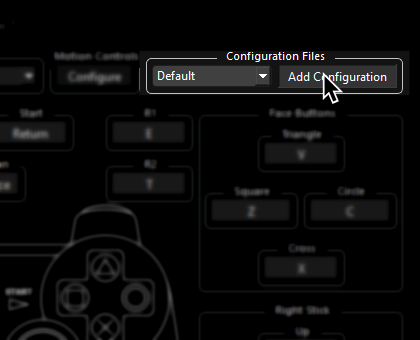
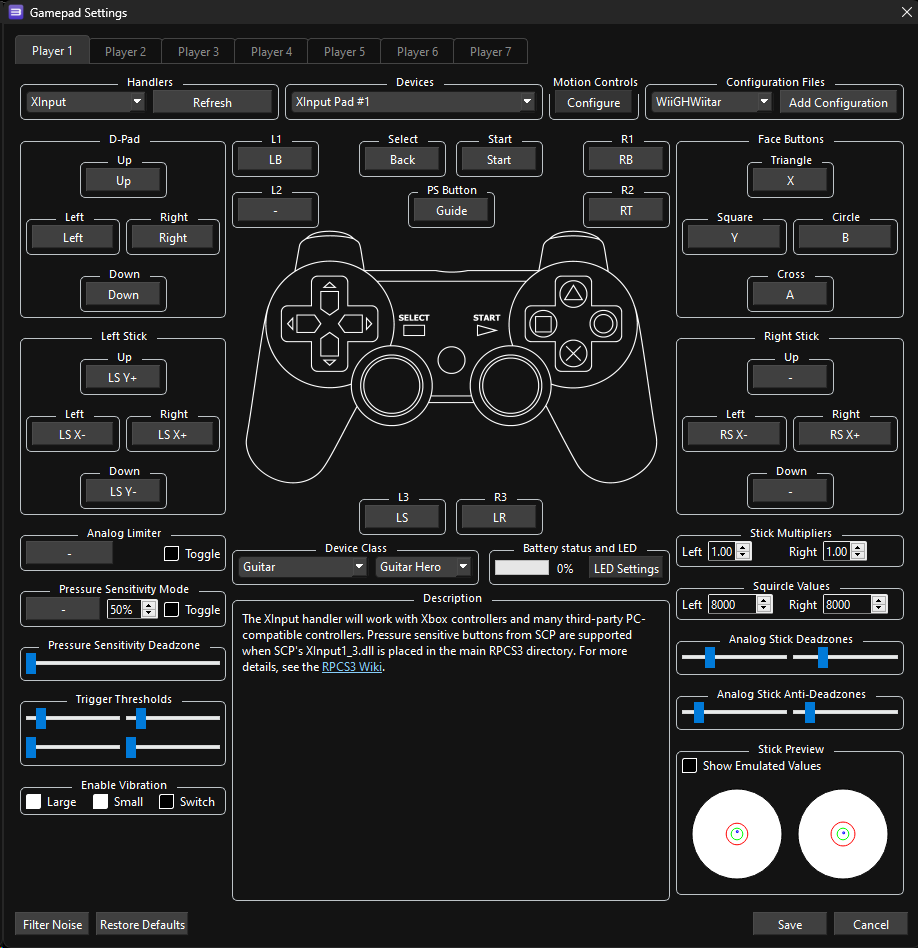
Follow the instructions and/or match the assignments below.
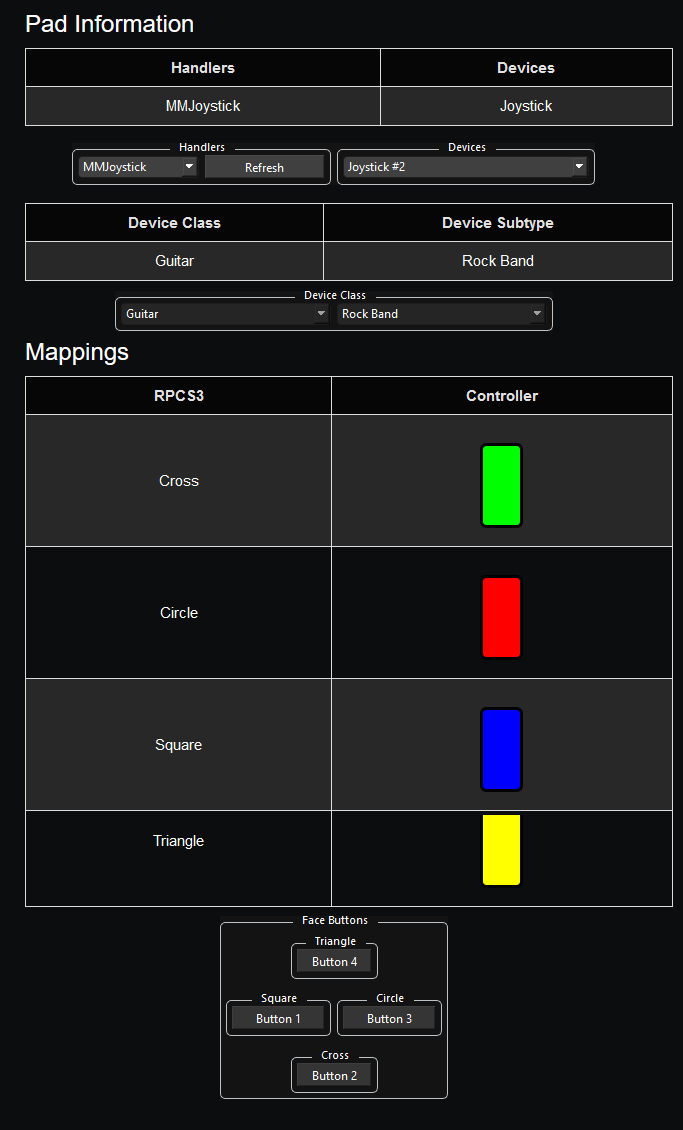
Pad Information
| Handlers | Devices |
|---|---|
| XInput | XInput Pad |
| Device Class | Device Subtype |
|---|---|
| Guitar | Guitar Hero |
Mapping
By default, XInput has most things bound correctly. You only need to adjust the following:
UNMAP THE FOLLOWING or guitar solos will auto-strum!
Use Right Click to unmap a button.
| RPCS3 | XInput | Guitar |
|---|---|---|
| L2 |  |
Solo Modifier |
Change the following or blue and yellow frets will be inverted!
| RPCS3 | XInput | Guitar |
|---|---|---|
| Square |  |
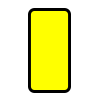 |
| Triangle |  |
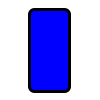 |
Guitar Hero controllers tend to misbehave and refuse to map sometimes. If you try mapping a button and always get “U+” or something similar, click “Filter Noise” at the bottom left of the controller configuration window then try mapping.
Profile
After downloading the profile,
- Extract the .7z file.
- Drag the
input configsfolder into theconfigsfolder where you have RPCS3 in.
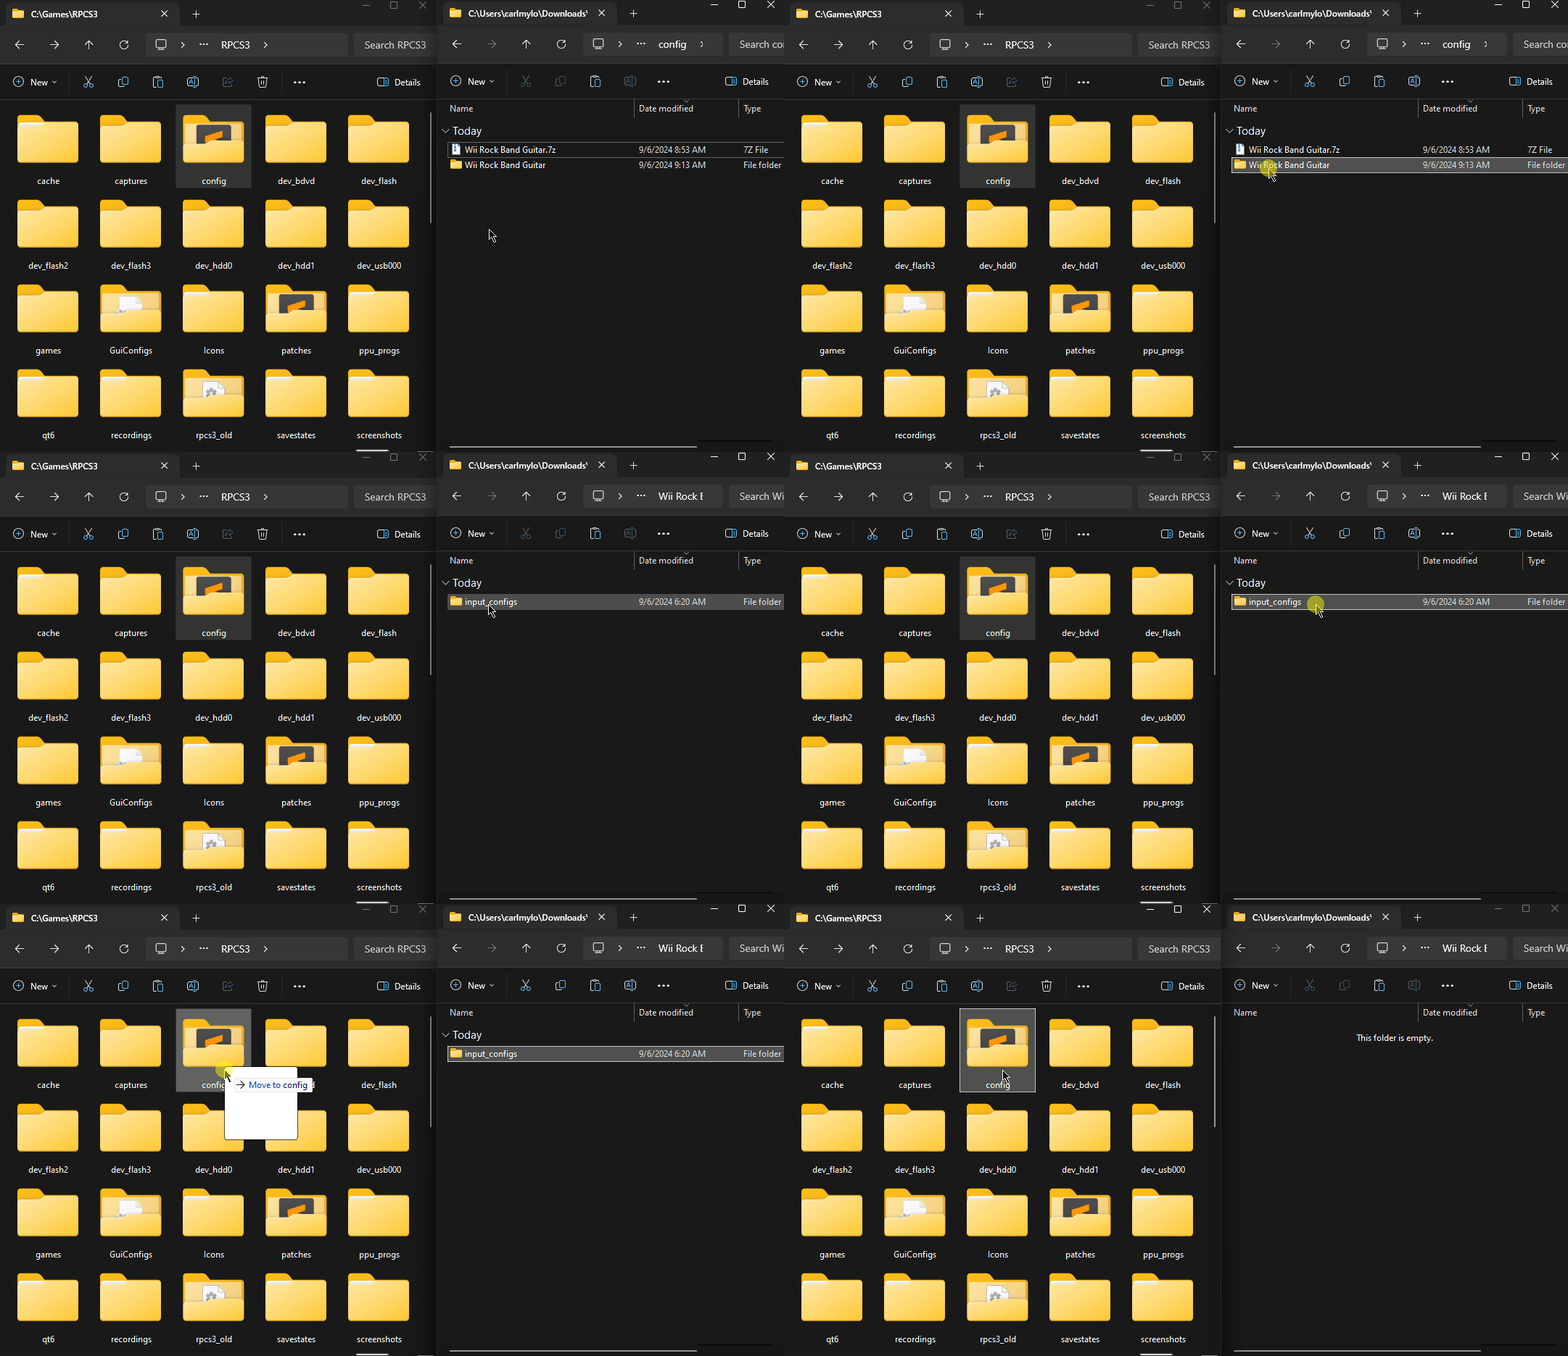
After that, you can select the profile in the “Pads” menu.
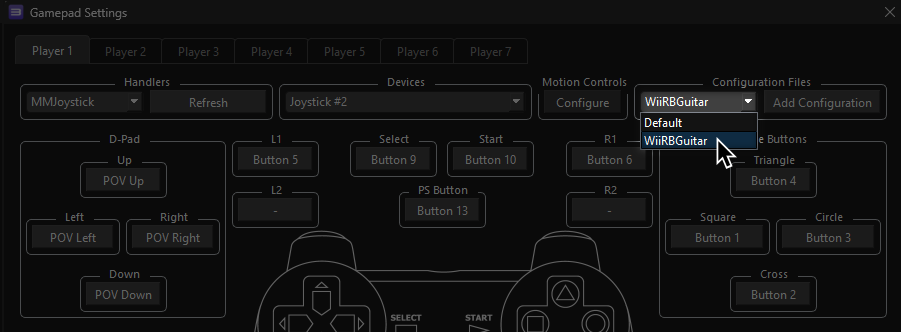
Most of the time, these controller profiles should work out of the box. If they don’t, try changing the controller listed in “Devices”, next to the “Refresh” button until it receives an input. You can edit this while the game is running.
Bindings
| RPCS3 | Guitar |
|---|---|
| Cross | 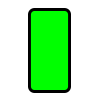 |
| Circle | 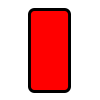 |
| Square |  |
| Triangle |  |
| L1 |  |
| D-Pad: Up |  |
| D-Pad: Down |  |
| D-Pad: Left |  |
| D-Pad: Right |  |
| Right Stick: Left/Right |
 |
| Select | 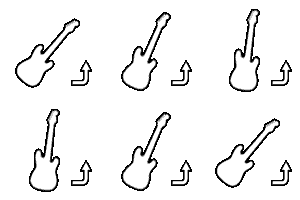 |
| Select |  |
| Start |  |
| Select |  |
| PS Button |  |
Mapped by [gonakil1ya]