DISCLAIMER - READ BEFORE CONTINUING
Do this as a last resort if the charts you want to convert were specifically made for PC clone games (Clone Hero/YARG). If the chart originally existed in RB format, whether it be official DLC or customs, get that first and follow [the Xbox 360 to PS3 guide]!
Failure to do so will result in lost metadata associated with the original song package, including:
- Incompatibility with any song upgrades in RB3DX
- Keys, Pro Guitar, Harmonies, & chart fixes to legacy RB songs that didn’t have them
- Incompatibility with online play and leaderboards
- Animation data such as character lipsync will be lost
Should you decide to ignore the disclaimer and proceed, you will be refused any support from the MiloHax Discord if you run into any issues. YOU HAVE BEEN WARNED!
1.
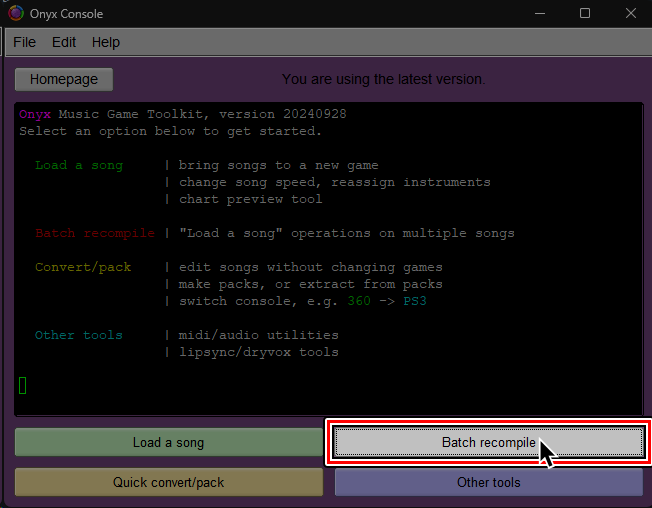
After downloading the charts you want, open Onyx and select Batch recompile.
2.
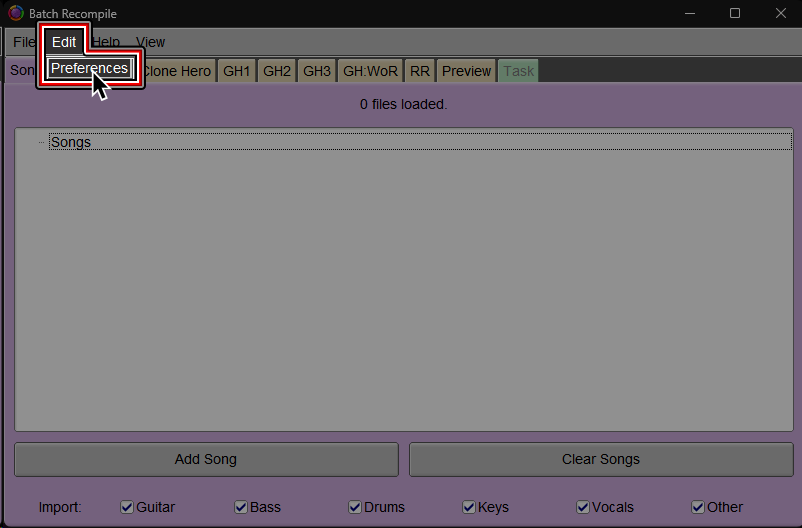
At the top of the Batch Recompile window, click on Edit then Preferences.
3.
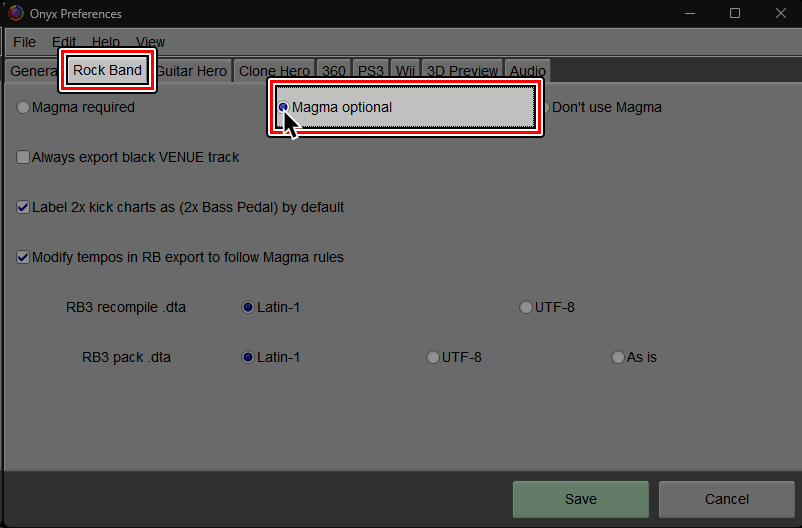
Switch to the Rock Band tab.
Change to Magma optional.
4.
You will be warned about this.
Click OK.

5.
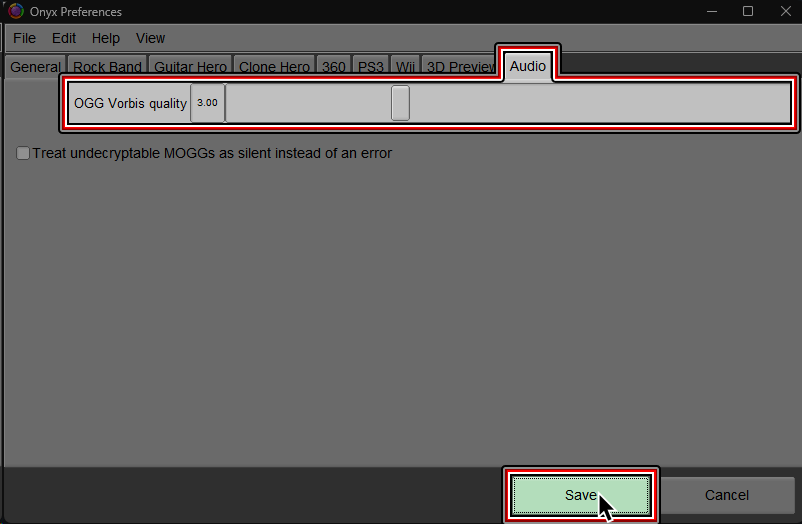
Switch to the Audio tab.
Lower the OGG Vorbis quality to 3.00.
After that, click on Save.
6.
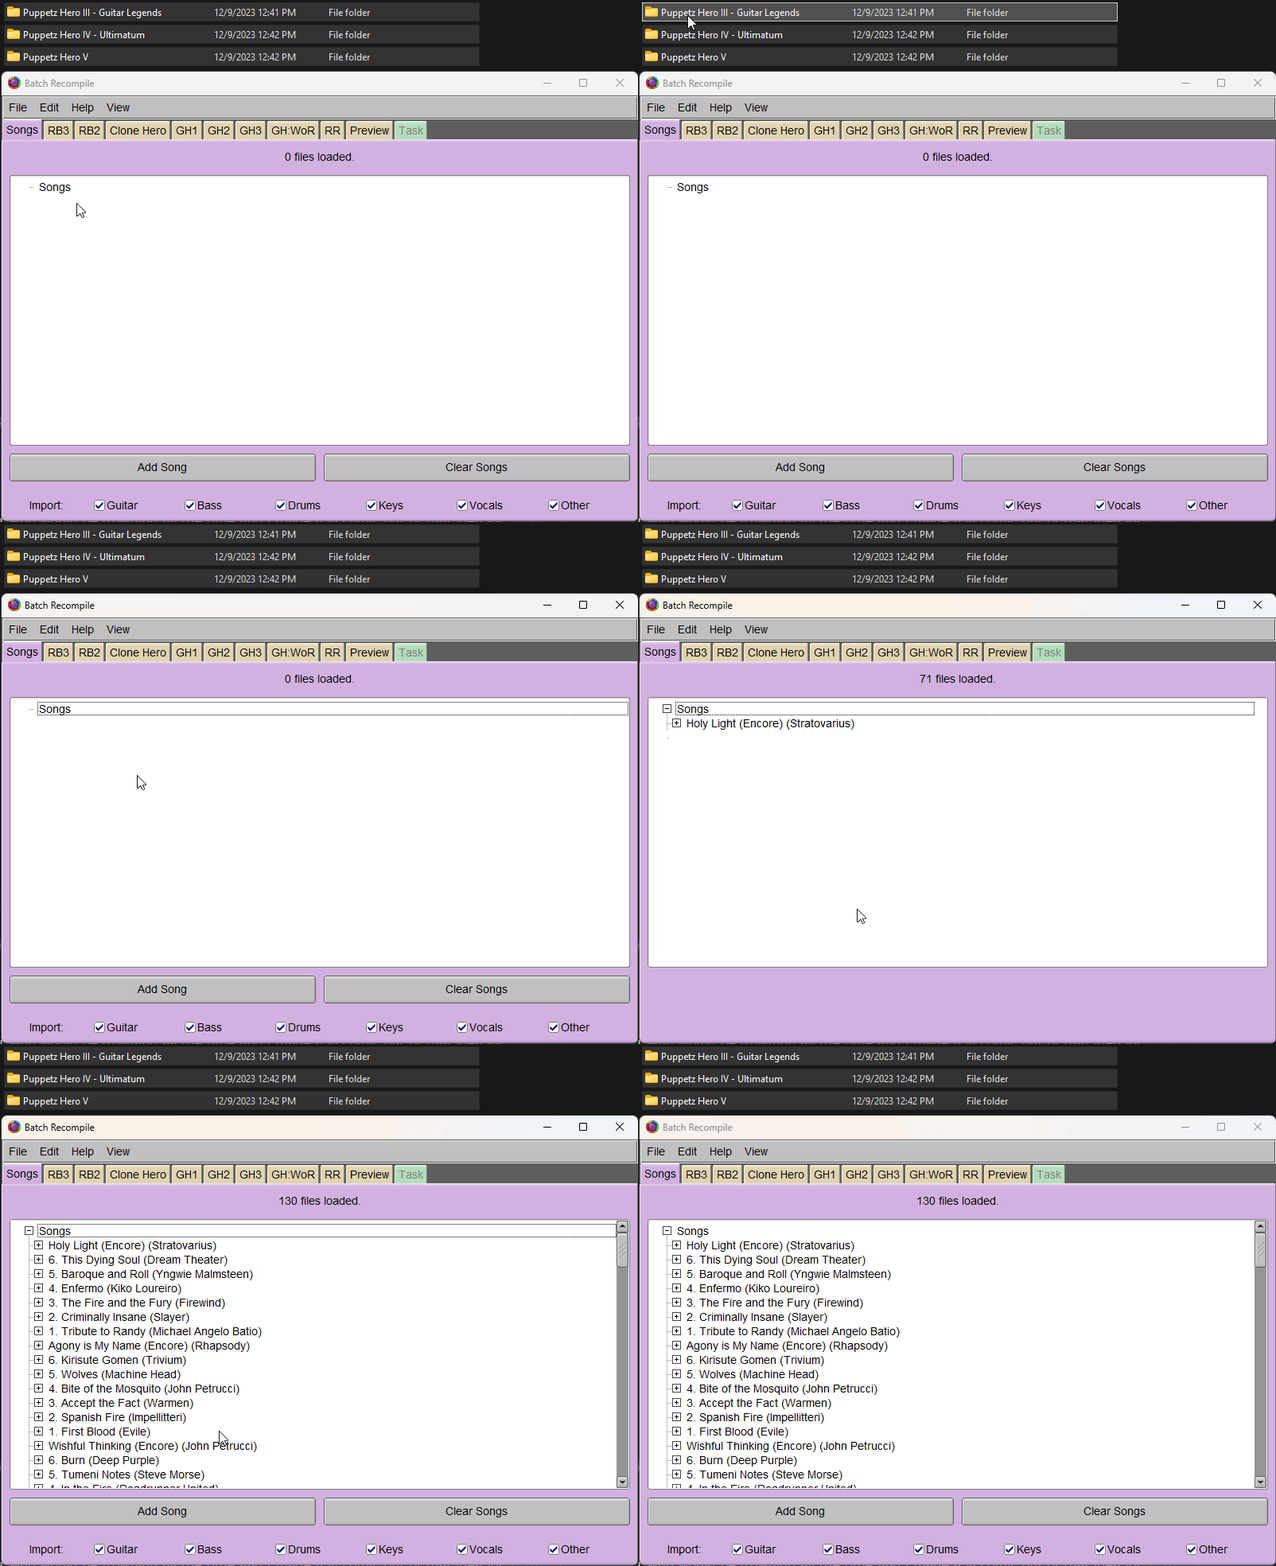
Drag and drop the folder(s) containing the songs you want to convert into the Batch recompile window.
7.
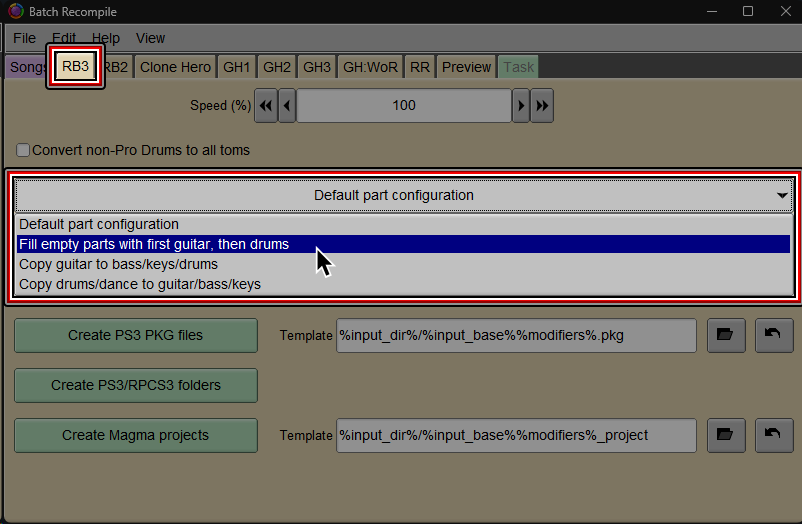
Switch to the RB3 tab.
(Optional) Most Clone Hero songs only have Guitar charted. You may wish to copy it over to other instruments such as Bass/Keys to allow more people to play it at the same time.
8.
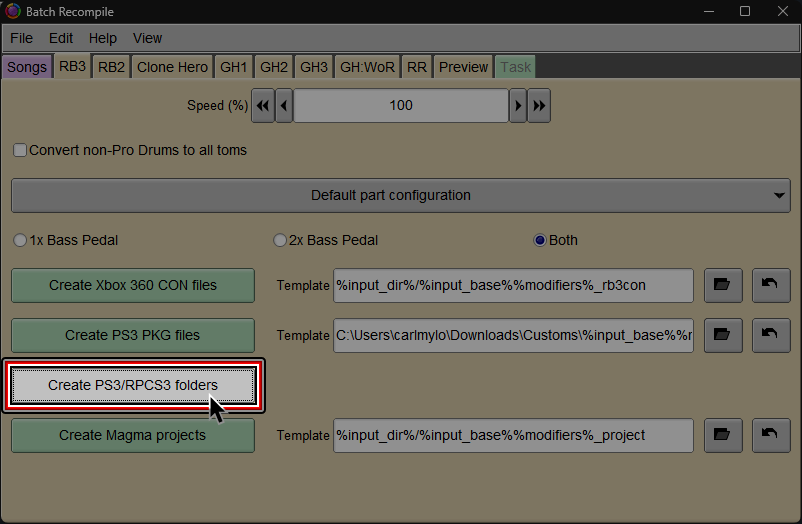
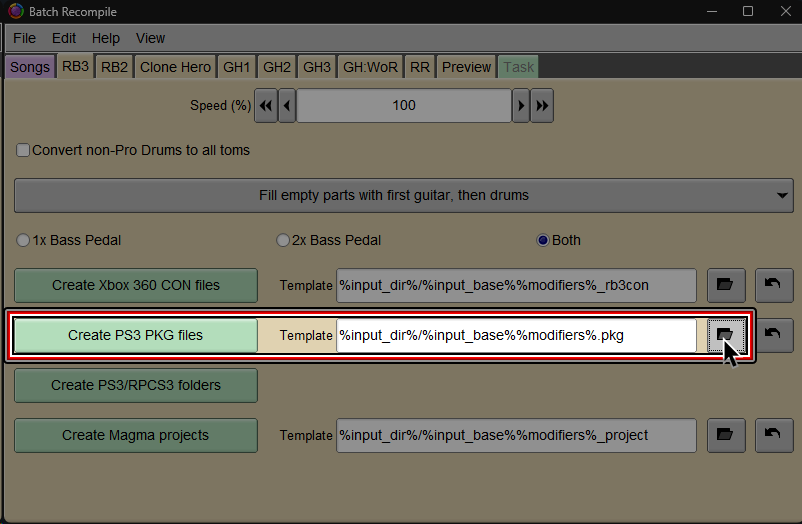
To finish, select either Create PS3 PKG files or Create PS3/RPCS3 folders.
Create PS3/RPCS3 foldersis recommended for RPCS3 users and PS3 users who know how to use FTP. It is much faster than PKG creation.Create PS3 PKG filesis only recommended for PS3 users who can only use USB flash drives to add more songs.
9.
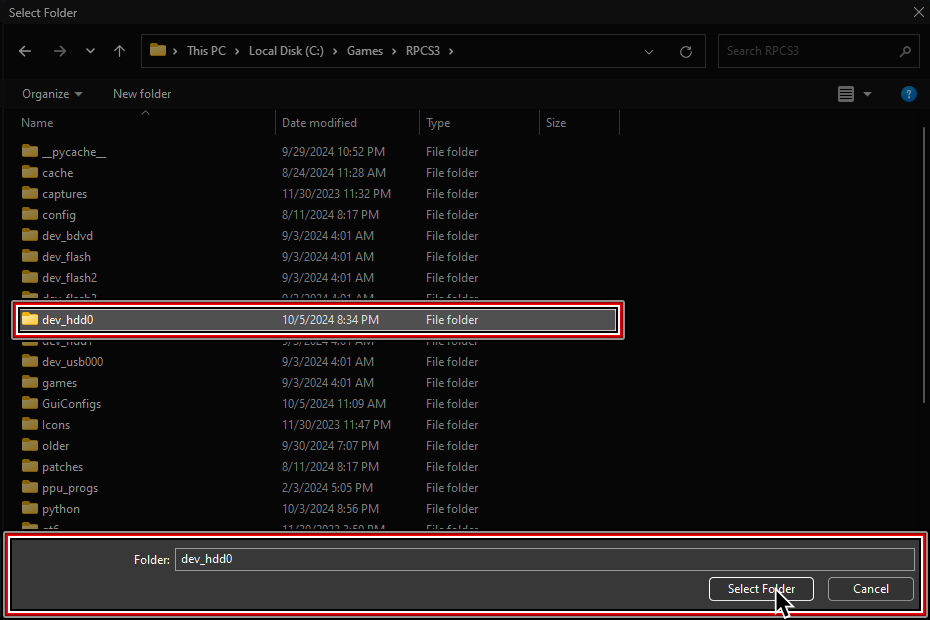
Navigate to your RPCS3 folder and select the dev_hdd0 folder.
If you're going to be installing to a PS3 via FTP, select the most convenient folder.
10.
It should successfully convert and auto-install into your RPCS3 directory, ready to play.
9.
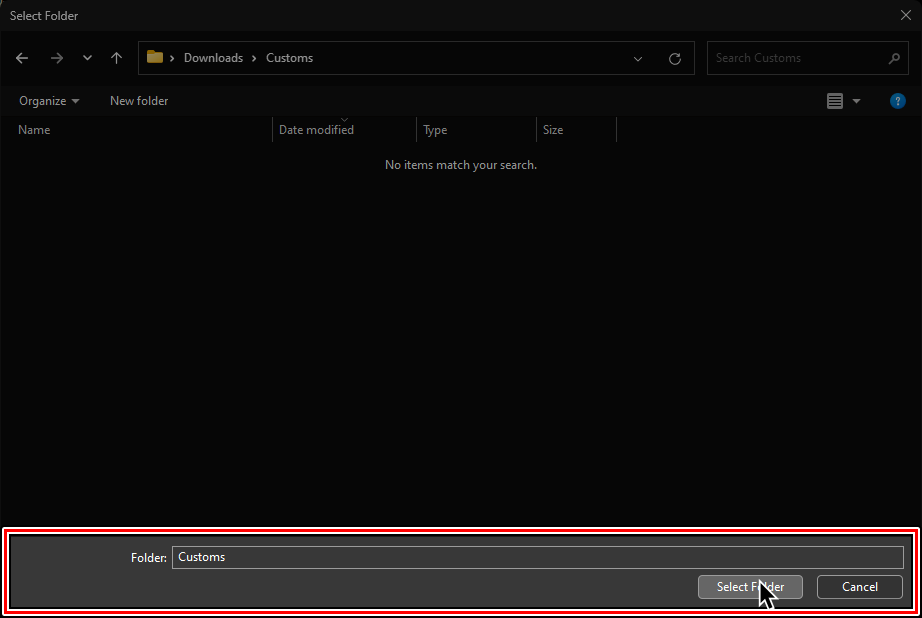
Select where you would like to save the PKG file(s) and give it(them) a name.
10.
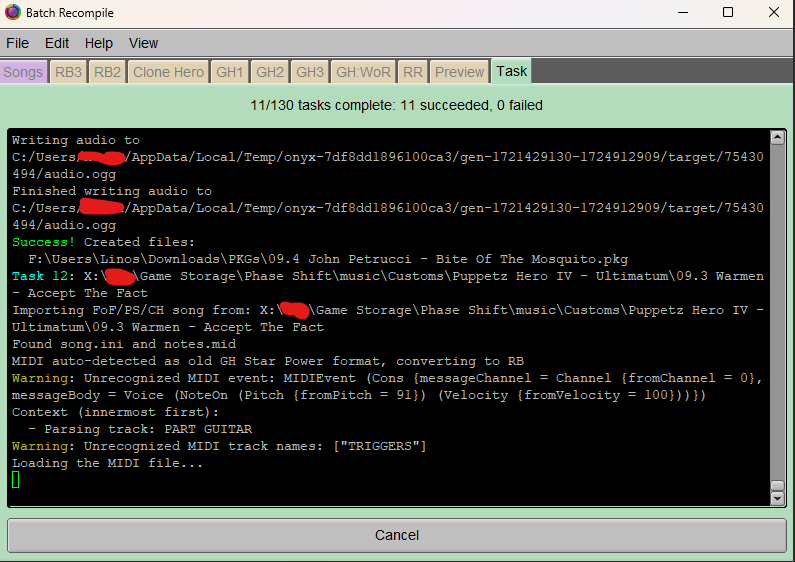
It should successfully convert and a PKG file(s) will be created, ready to install.
Simply install it(them) like any other PKG.
